Highlight
Integration with on premises environments is one of more common cloud scenarios. Learn how to set up and Analysis Services hybrid environment with use of On-Premises Data Gateway.
Intro
Building Analysis Services model which uses on premises databases might be confusing in the beginning. In reality it takes less than one hour to create end to end setup using out of the box components available to developers.
This article will cover
- Azure environment setup
- On premises data gateway setup
- Visual Studio model which connects live to on premises database
- Model deployment
Prerequisites
Following tools are required to execute this tutorial
- Azure Subscription
- Visual Studio 2017
- SQL Server Data Tools 2017
- On premises environment with SQL Server installed.
Note: On premises environment can be simulated using Azure Dev Test lab VM. I strongly suggest installing fresh Windows 7 VM and follow steps in On Premises setup section.
Design
Presented design will be focus of this article. \

Components
- On-Premises
- SQL Server database - source of data
- On-Premises Data Gateway installation - windows service used for connectivity
- Azure
- On-Premises Data Gateway resource - azure resource used for binding local gateway
- Azure Analysis Services - consumer of live query data from sql server
On-Premises demo setup (optional)
Article uses SQL server as example of on premises database. This installation has been fully done on Azure DevTest Labs.
If environment preparation is required, then follow below steps otherwise move to next section.
- Create DevTest Lab environment
![]()
- For the parameters fill
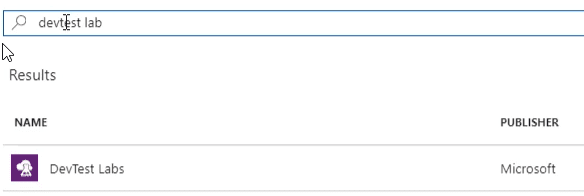
- Lab Name: Provide any
- Location: North Europe (choose one region and stick with it for entire setup)
- Once provisioned go to lab and click on Add new
![]()
- Select Windows 10 Enterprise VM image
- Fill VM form fields
![]()

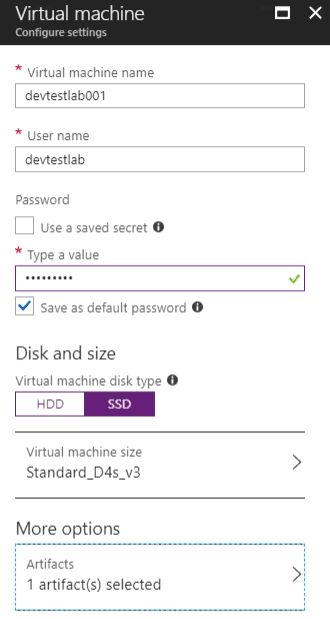
- Virtual Machine Name: devtestlab001, name is important when connecting to SQL server later on. Any name works though.
- User Name: Any will do, this will be used to log into machine.
- Password: Any will do, this will be used to log into machine.
- Disk and size: SSD
- VM Size: I choose D4s_v3 but any works fine. Small VMs just take much longer to run programs.
- Artifacts: Chrome.
- Connect to VM
![]()
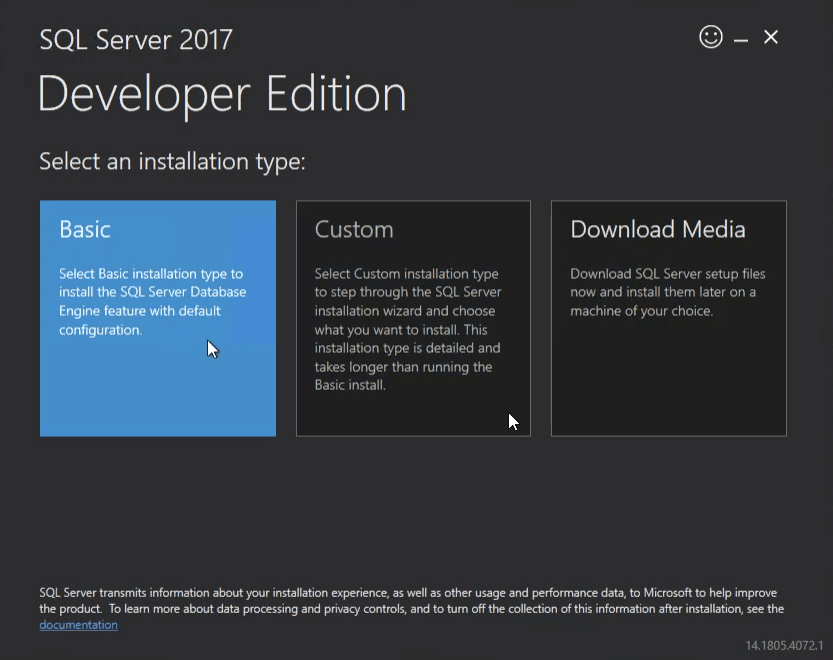
- Install following tools
- SQL Server Developer Edition
![]()
- SQL Server Data Tools
![]()
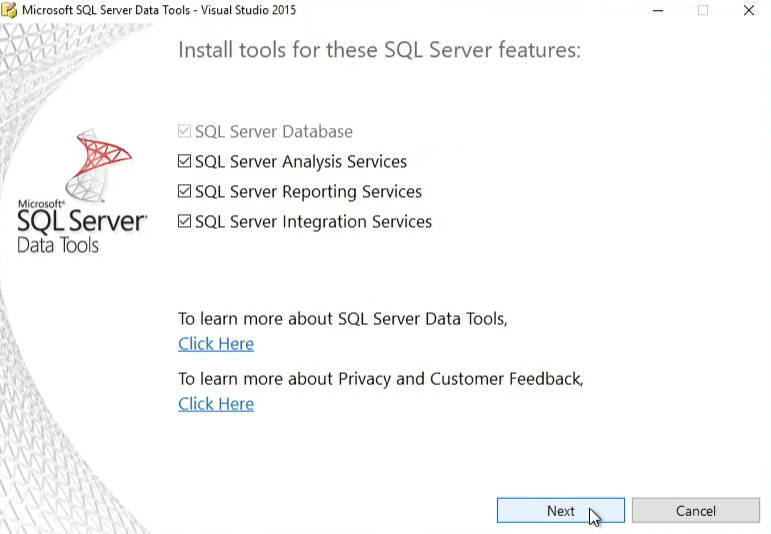
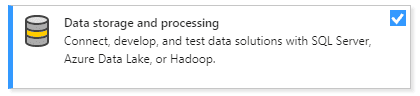
- Visual Studio Community
Make Sure to select Data and storage tools.
![]()
- Open Visual Studio
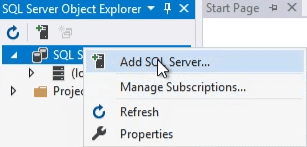
- Open SQL Server Object Explorer. If it is not visible, it can be enabled in View options.
- Connect to local SQL database
![]()
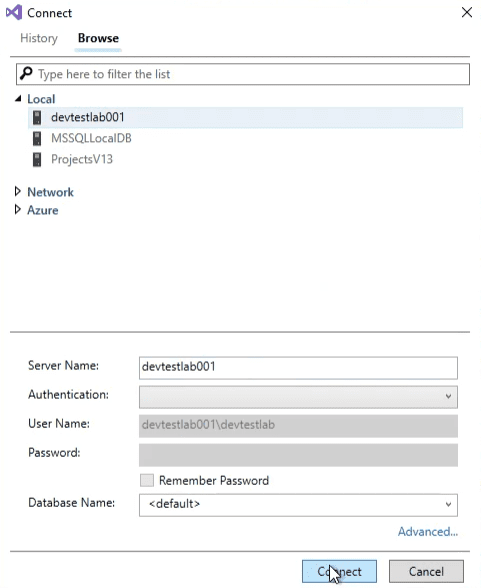
- Select local instance (should have the same name as VM name)
![]()
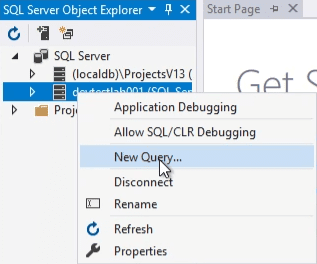
- Open new query
![]()
- Run Query to Setup demo database
Output
CREATE database asdemodb; GO use asdemodb; GO CREATE TABLE MyData ( Id int identity (1,1) primary key, FirstName nvarchar(80) not null, LastName nvarchar(80) not null ) GO INSERT INTO MyData (FirstName, LastName) VALUES ('Adam','Doe'), ('Meghan', 'Green'), ('Jerry', 'Hansen'), ('Gerardo', 'Mcgee'), ('Dan', 'Burke'), ('Juan', 'Harmon'), ('Doris', 'Brady'), ('Marcos', 'Stanley'), ('Candace', 'Stevens'), ('Kelli', 'Watts'), ('Sherry', 'Gutierrez'), ('Jana', 'Osborne'), ('Sonja', 'Lucas'), ('Charlotte', 'Clarke'), ('Clifford', 'Webb'), ('Marguerite', 'Andrews'), ('Luther', 'Burgess'), ('Joey', 'Conner'), ('Tonya', 'Mullins'), ('Grant', 'Patton'), ('Elmer', 'Dean'), ('Alton', 'Gonzales'), ('Wesley', 'Daniel'), ('Salvador', 'May'), ('Lana', 'Newman'), ('Gabriel', 'Reeves') ; GO(26 row(s) affected)

Install On-Premises Gateway
- Download & Run On-Premises Data Gateway
- When prompted log into Azure using the same account that will be setting up Azure Resources.
- Important: Personal account can’t be used, this must be work account. In case of personal MSDN subscription go to Azure and create static user and grant him privileges go execute this scenario (resource group owner is enough).
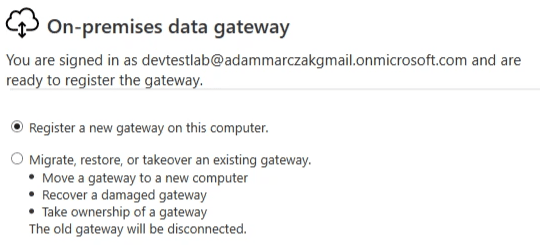
- Select register a new gateway option
![]()
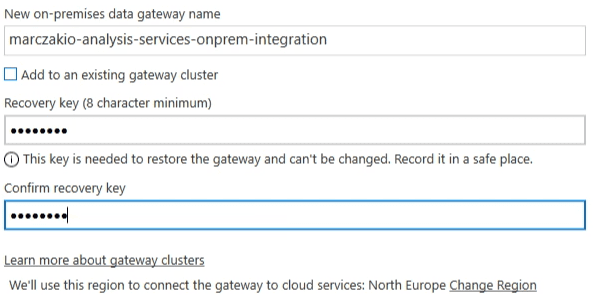
- Give it a recognizable name and type in recovery key. Make sure to back up this key.
![]()
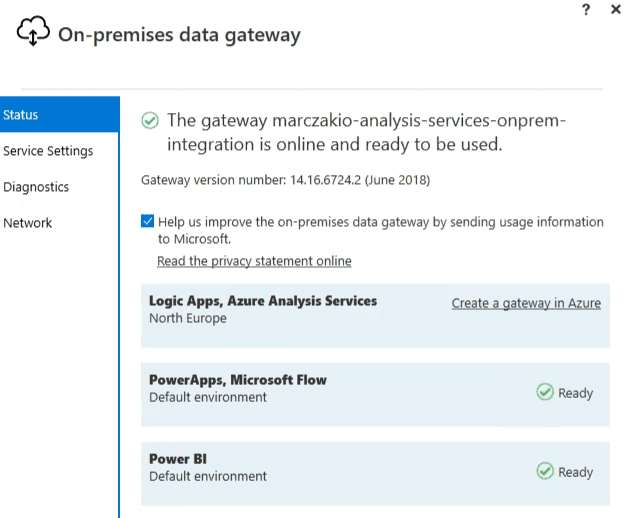
- Finish installation and verify status. Properly working gateway should show Ready status
![]()
Provision Azure Resources
- Create new Analysis Services resource
![]()
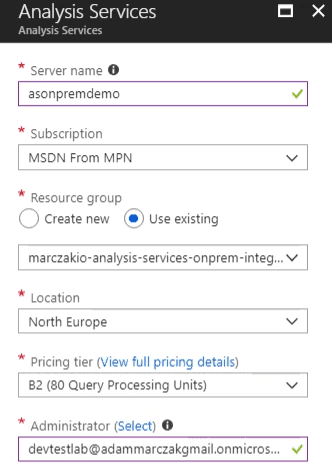
- Server Name unique name for Analysis Services instance
- Resource Group select previously created resource group (new also works)
- Pricing Tier choose capacity, in this example B2 was used for faster responses
- Location North Europe (or the same as the lab for low latency)
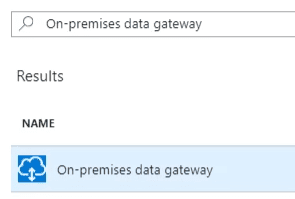
- Create new On-premises data gateway resource
![]()
![]()

- Resource Name name for gateway resource
- Resource Group select previously created resource group
- Location same as analysis services. This is important!
- Installation Name select from dropdown previously created and installed gateway
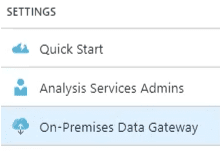
- Open Analysis Services resource
- Open On-premises data gateway blade
![]()
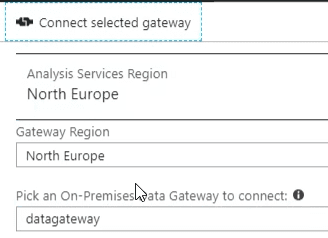
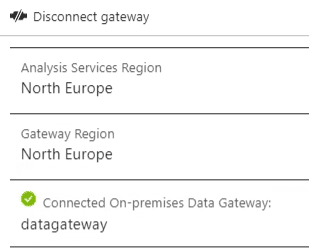
- Connect gateway by providing previously created region and gateway resource
![]()
- Successful connection will be indicated by checkmark
![]()
Deploy Model
Before deployment model connect again to the database and grant Power BI gateway service access to the database. This will be required when Analysis Services tries to connect using gateway.
- Open New Query with the database
- Execute below script
use master;
GO

CREATE LOGIN [NT Service\PBIEgwService] FROM WINDOWS;
GO

use asdemodb;

CREATE USER [NT Service\PBIEgwService] for login [NT Service\PBIEgwService]
GO

EXEC sp_addrolemember db_datareader, [NT Service\PBIEgwService];
GO
- Note: NT Service\PBIEgwService is the name of the local service under which by default gateway is running.
Now follow the steps
- Open Visual Studio
- Create new Tabular project
![]()
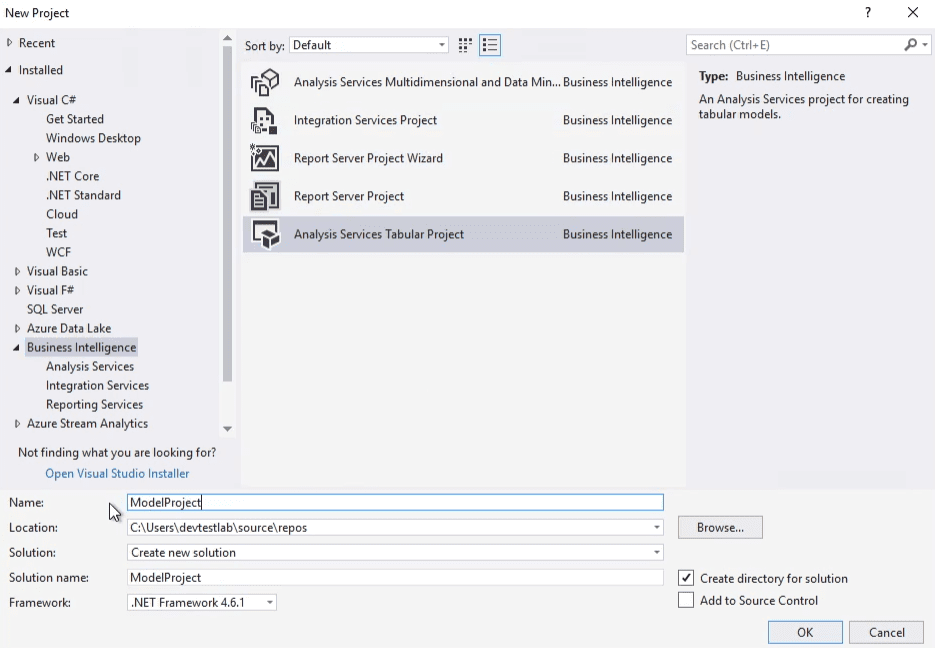
- Note If project template is missing verify if Sql Server data tools are correctly installed.
- Instance select Integrated Workspace
- Compatibility Level choose SQL Server 2017 / Azure Analysis Services (1400), this will allow you to use newest features including Query Editor like in Power BI and Excel Power Query.
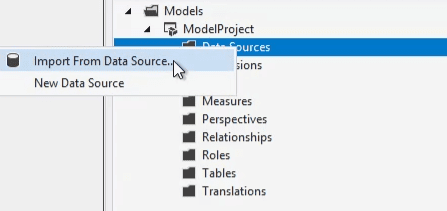
- In the Solution Explorer of project right-click on the Data Sources and select Import from data source option
![]()
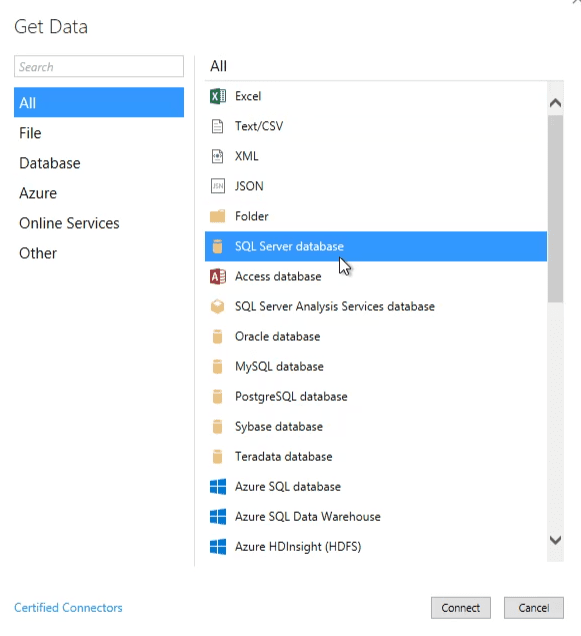
- Select SQL server database as the data source
![]()
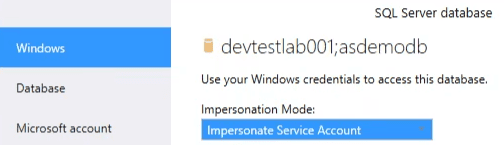
- Type in database details from previous steps
![]()
- Select connection credentials as Impersonate Service Account
![]()
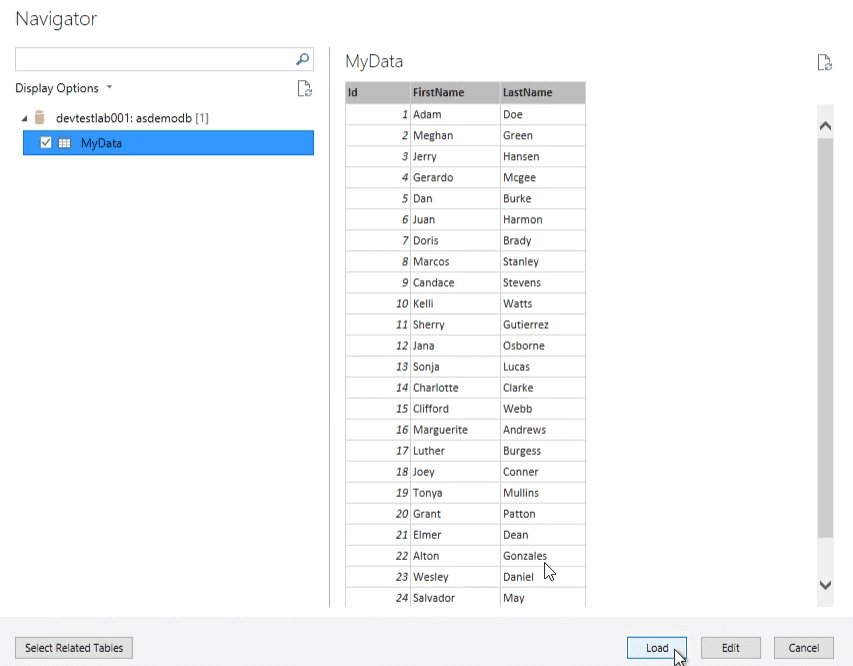
- Verify data and click Load
![]()
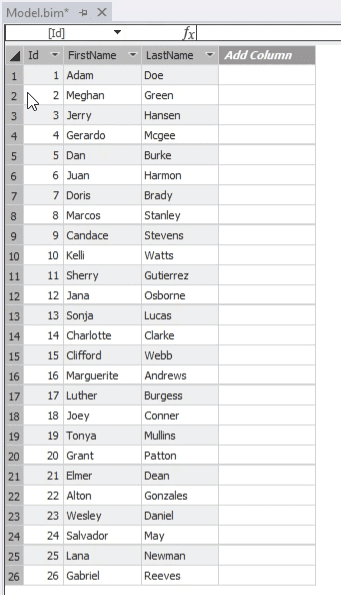
- Successfully loaded model should appear in the designer
![]()
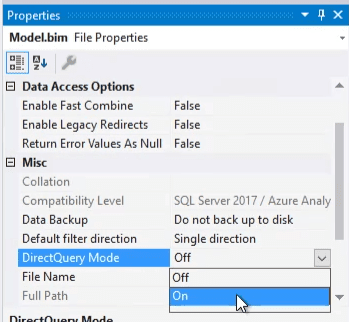
- In the Tabular Model Explorer right-click on the Model.bim file and select properties
- Change parameter DirectQyert Mode from Off to On
![]()
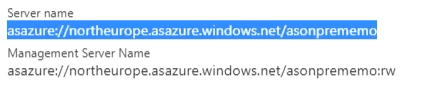
- Navigate back to Azure Analysis Service and in the Overview blade copy Server name
![]()
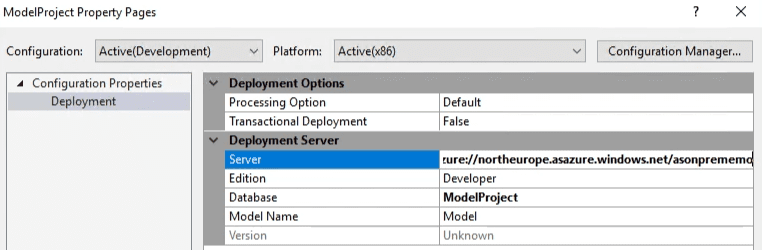
- In the Tabular Model Explorer right-click on the ModelProject project file and select Properties option
- Paste in copied AAS in the server address property field
![]()
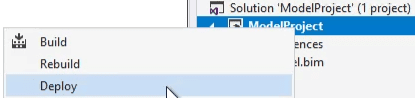
- Again right-click on the ModelProject project file and select Deploy option
![]()
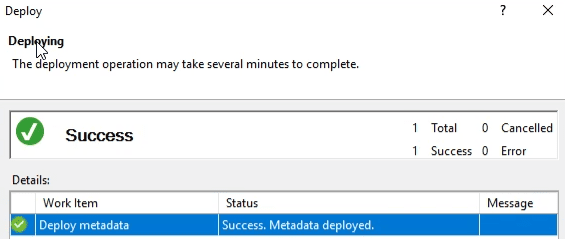
- Successful deployment should look like this
![]()
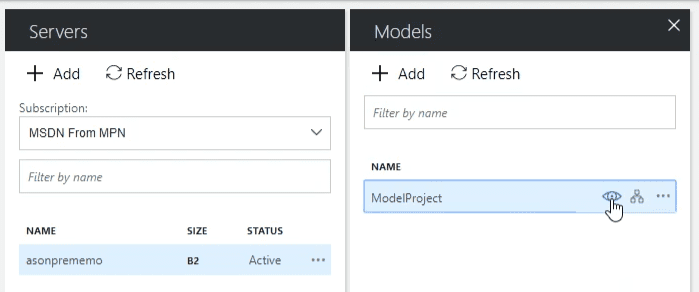
- Navigate back to Azure Analysis Service and in the Overview blade click on the Web Designer Open button
![]()
- Click on the ‘eye’ icon in the Models panel
![]()
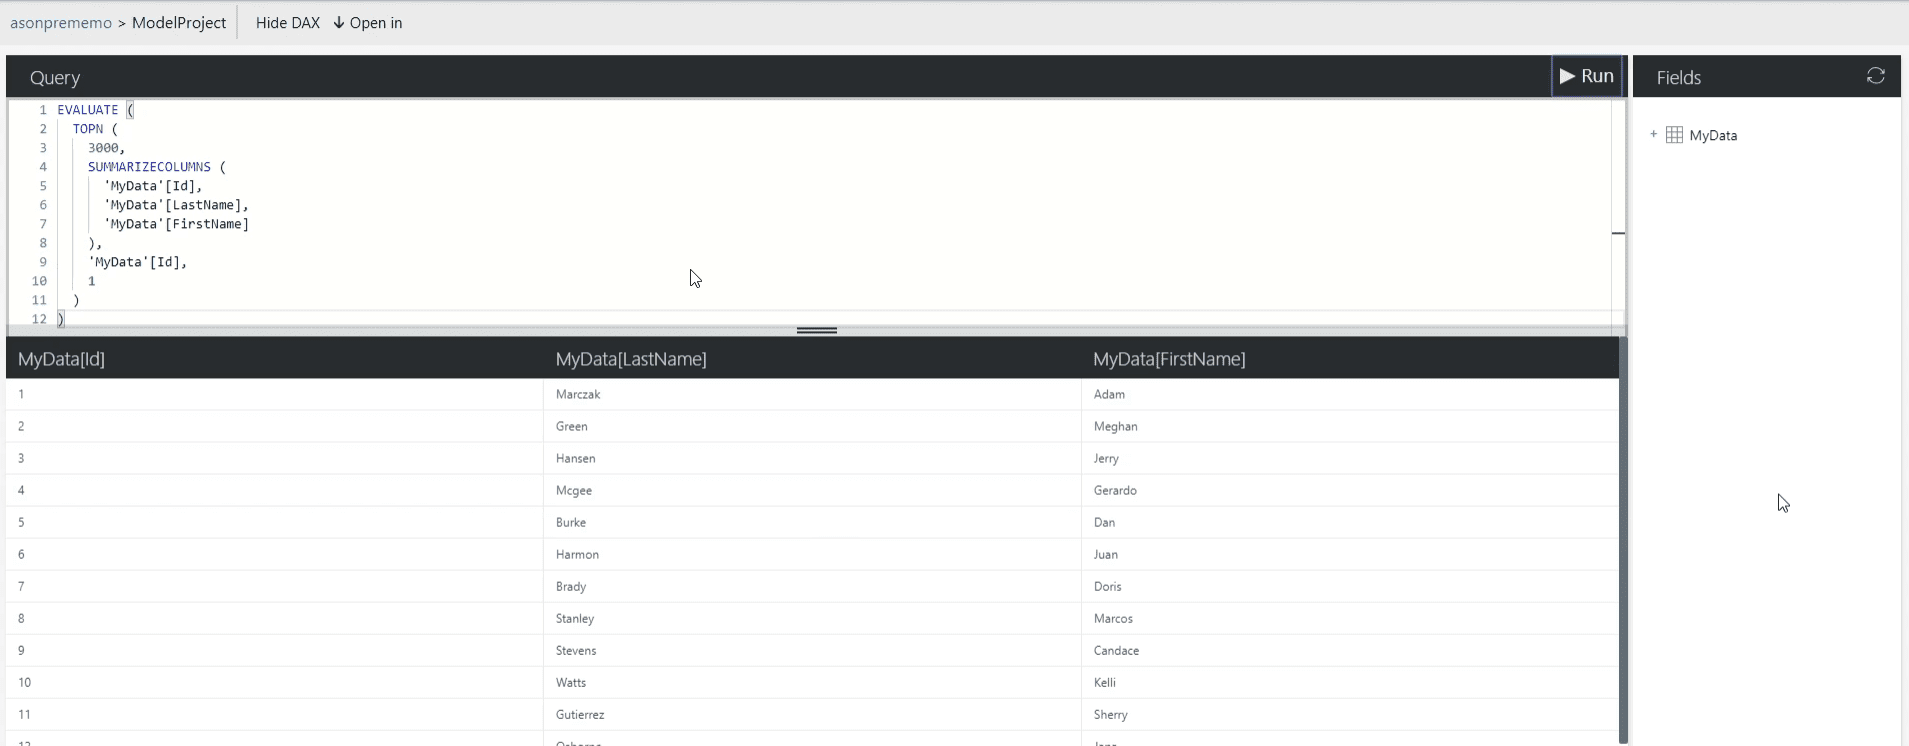
- Select ‘Show DAX’ and paste in the script
EVALUATE ( TOPN ( 3000, SUMMARIZECOLUMNS ( 'MyData'[Id], 'MyData'[LastName], 'MyData'[FirstName] ), 'MyData'[Id], 1 ) ) - Verify results
Change results in the database to demo out live connection
![]()


Summary
A careful reader should by now understand and be able to execute following activities
- Settings up dev test lab to imitate on premises environment
- Grating permissions to services in SQL server
- Creating Azure Analysis Services
- Connecting & querying Azure Analysis Services using Query Editor
- Creating simple Analysis Services model
- Configuring and deployment Analysis Services models
- Configuring and integrating On-premises data gateway with Azure Analysis Services


