In 2017 asynchronous refresh API was released for Azure Analysis Services which allows users to refresh their models with simple REST calls. This allows for easy integration with their orchestration solutions. Learn how to build very simple logic apps and manage Azure Analysis Services refresh schedule.
Intro
Azure Analysis Services is a great in-memory analytical engine which allows enterprises to build very scalable and fast reporting solutions. In recent years Microsoft decided to provide this solution as Platform as a Service, bringing Azure Analysis Services. One of the key challenges in the cloud was refreshing analytical models which in the past was achieved using PowerShell scripts.
With release of refresh and sync API’s this process can be automated with variety of tools and services. In this article, a very simple Logic App will be created which will schedule model refresh and wait for its ending. This will present a classic principle of orchestration which then can be further integrated with other services.
Prerequisites
In order to execute this scenario a developer must have following tools
- Azure Subscription
- Azure Analysis Services with any model deployed
- SQL Server Management Studio 2017+
Design
In this article Azure Analysis Services REST API will be used. This second covers high level principles on how this process should be done.
High level architecture of this refresh will look like this.
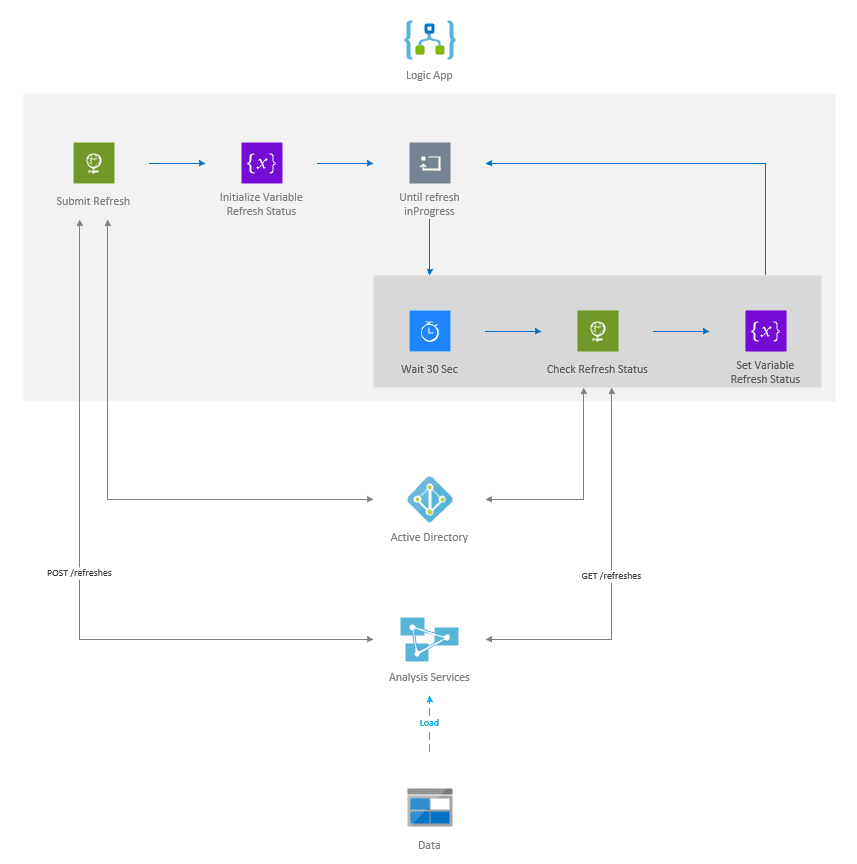
With few principles in mind
- Analysis Services Refresh API is asynchronous so after first call logic app will only receive accepted (202) response containing refresh ID.
- Logic app will asking for refresh status until failed or succeeded status is received
- Logic app will wait 30 seconds between retries to give analysis services refresh time to refresh the model
In high level Azure Analysis Services API looks as follows

Refreshing model with POST /refreshes
In order to refresh model on analysis services a REST call must be performed on
https://<rollout>.asazure.windows.net/servers/<serverName>/models/<resource>/refreshesAs per diagram

- <rollout> region name where analysis services is deployed. This can be retrieved from analysis services URL.
- <serverName> name of azure resource, this is also unique public DNS name for analysis services.
- <resource> name of analysis services model deployed on the server.
Request
{
  "Type": "Full",
  "CommitMode": "transactional",
  "MaxParallelism": 2,
  "RetryCount": 2,
  "Objects": [
    {
        "table": "DimCustomer",
        "partition": "DimCustomer"
    },
    {
        "table": "DimDate"
    }
  ]
}- Type a TMSL refresh type. Accepted options are: full, clearValues, calculate, dataOnly, automatic, add, defragment.
- CommitMode is defining if objects during refresh will be committed in batches or only when completed. Currently only three options are valid: default, transactional, partialBatch.
- MaxParallelism how many parallel threads are processing the model. Must be within MaxParallelism setting of the server.
- RetryCount how many times server retries operation before failing.
- Objects array of objects to refresh. Tables or partitions are accepted. No objects on the list means entire model.
For more info check the documentation HERE.
Response (202 Accepted)
EmptyBut there is very important header in the response. This header can be used to check status in following requests.
{
  "Location": "https://<rollout>.asazure.windows.net/servers/<serverName>/models/<resource>/refreshes/<refreshId>"
}
Response (409 Conflict)
If there is already model refresh currently running request response with 409 code will be returned. This means in production environment a model refresh submission should be wrapped in the loop trying to submit refresh until no 409 is returned.
{
  "code": "Conflict",
  "subCode": 1,
  "message": "Refresh job could not be created since there is already an active job running for model '<resource>'",
  "timeStamp": "2019-06-16T22:15:37.7356458Z",
  "httpStatusCode": 409,
  "details": [
    {
      "code": "RootActivityId",
      "message": "e5103f37-def2-43b0-b974-9169c3acd91d"
    },
    {
      "code": "Param1",
      "message": "<resource>"
    }
  ]
}
Checking refresh status with GET /refreshes<refresh_id>
To get status of refresh a REST call must be performed on
https://<rollout>.asazure.windows.net/servers/<serverName>/models/<resource>/refreshes/<refreshId>
- <rollout> region name where analysis services is deployed. This can be retrieved from analysis services URL.
- <serverName> name of azure resource, this is also unique public DNS name for analysis services.
- <resource> name of analysis services model deployed on the server.
- <refreshId> name of analysis services model deployed on the server.
Request
Empty because it's GETResponse (200 OK)
{
  "startTime": "2019-06-16T22:24:06.9112816Z",
  "endTime": "2019-06-16T22:24:08.2919036Z",
  "type": "full",
  "status": "succeeded",
  "currentRefreshType": "full",
  "objects": [
    {
      "table": "<table_name>",
      "partition": "Partition",
      "status": "succeeded"
    }
  ]
}
Available statuses are
- notStarted
- inProgress
- failed
- succeeded
Which means process should check for either failed or succeeded. All responses are returned with 200 http status call.
Authentication
All calls must be authenticated with a valid Microsoft Entra (former Azure Active Directory) (OAuth 2) token in the Authorization header and must meet the following requirements:
- Only user or service principal tokens are accepted. If you want to use MSI (Managed Service Identity), then you must enable identity on logic app and use CLI or PowerShell to get application ID of new service principal. Which then must be added as admin to analysis Services.
- Audience of the token must be set to https://*.asazure.windows.net.
- User or service principal must have AAS administrator privileges.
Provisioning
Log into Azure Portal and start creating resources.
Hint
This can be automated quickly using ARM template that I created for this. Template can be found below.
Check Application Account and Privilege setup sections to find out proper values for this template.
Resources
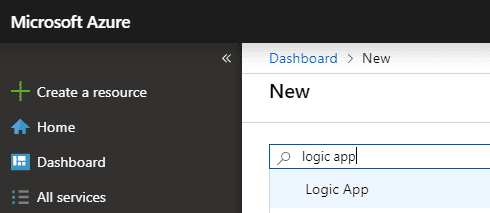
- Click on “+” sign to create new resource
![]()
- Type in logic app in Search window and press enter
![]()
- Click Create button
![]()
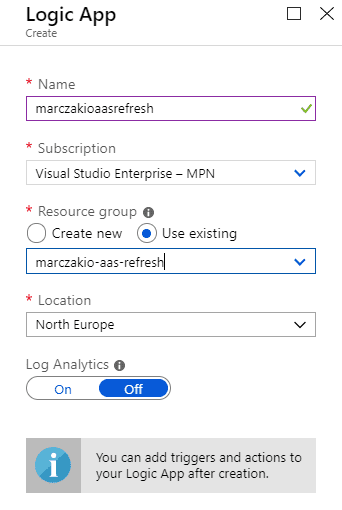
- Fill in basic info, name and location
![]()

Application Account
Log into Azure Portal and start creating resources.
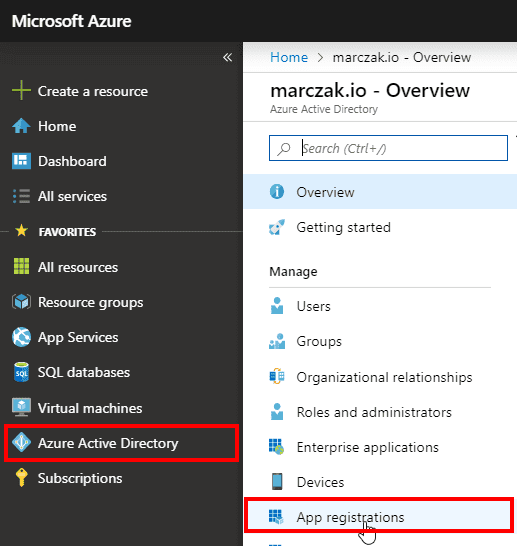
- Go to Microsoft Entra (former Azure Active Directory) into App registrations
![]()
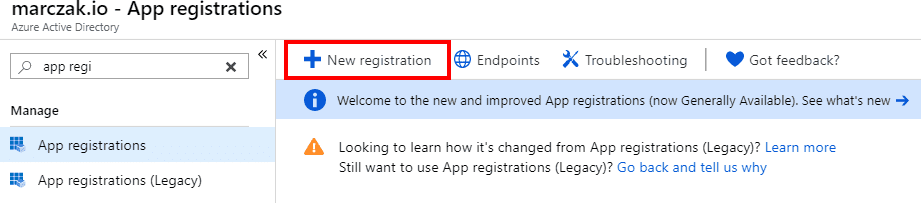
- Click on New registration
![]()
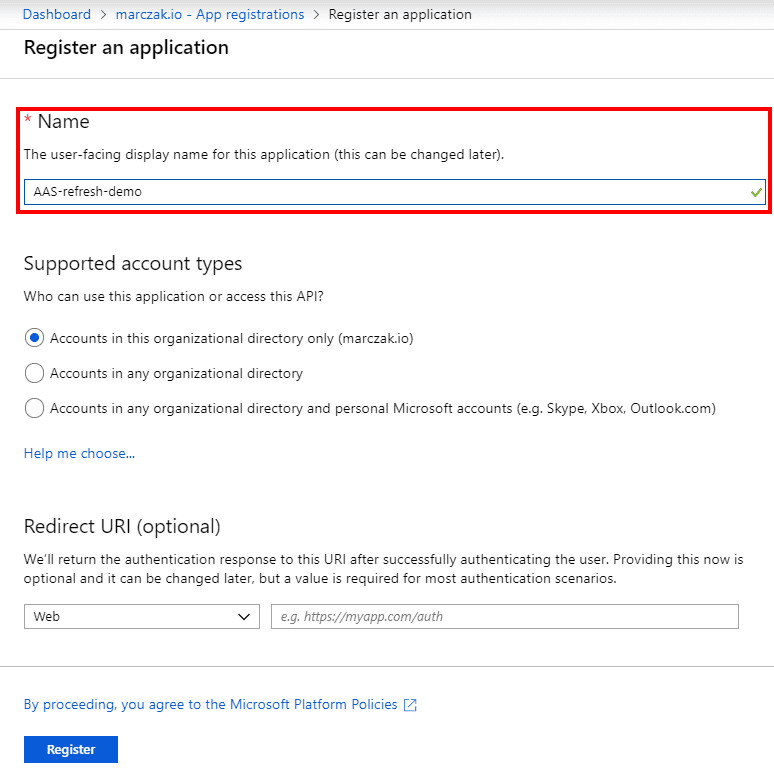
- Name app, leave everything as default
![]()
- Copy Application (Client) ID, this will be required for later steps
![]()
- Click on Certificates & secrets
![]()
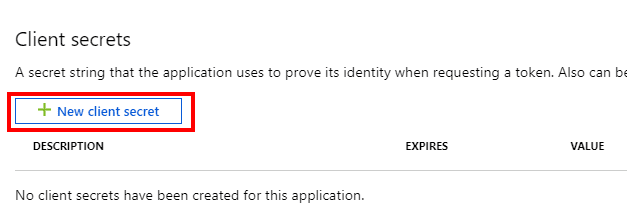
- Click on New Client secret
![]()
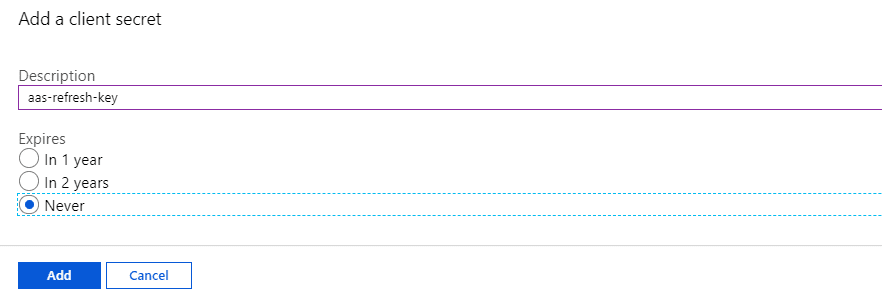
- Give it a name and expiration date and then select add
![]()
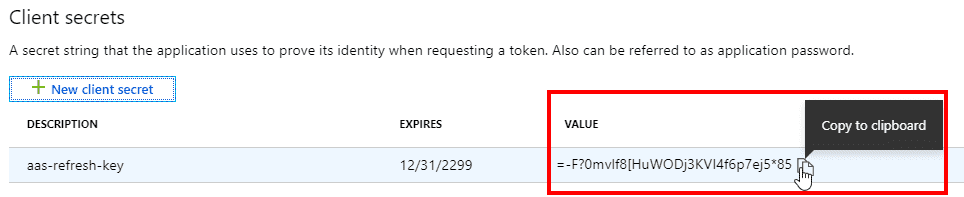
- Go to newly generated key and copy the value, this will be required for later steps
![]()
- Go to Microsoft Entra (former Azure Active Directory) into Properties
- Copy Directory ID, this will be required for later steps
![]()


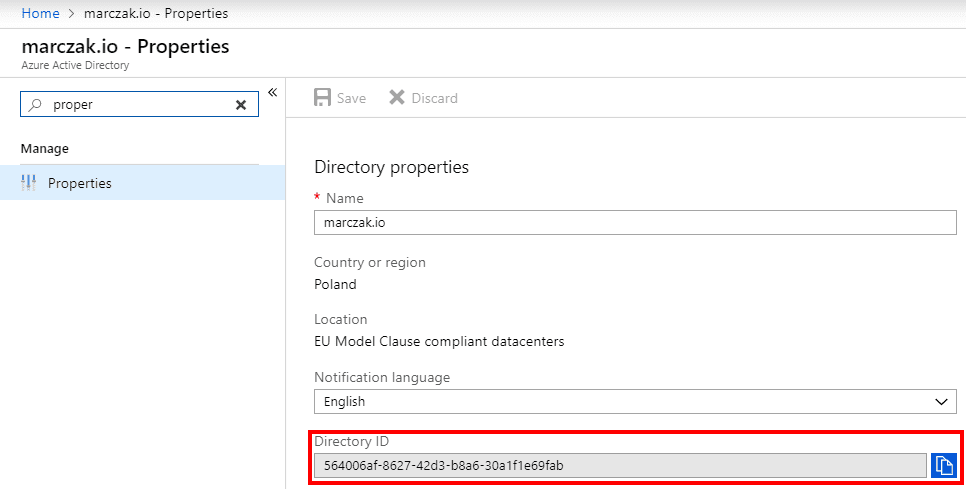
For further steps three properties are required
- Directory ID
- Application (Client) ID
- Key (Secret)
Privilege setup
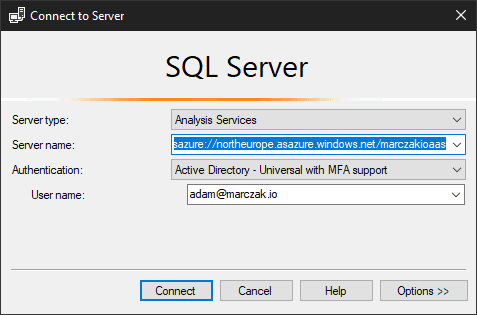
- Open SQL Server Management Studio
- Connect to Analysis Services
![]()
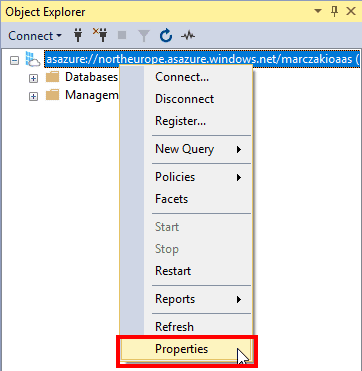
- Right-click on server and select Properties
![]()
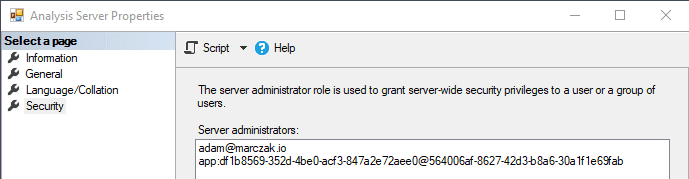
- Go to Security page and click Add button
![]()
- Search for app by name given in previous step or add manual entry in following convention
Convention IS
![]() In this example this would mean value
In this example this would mean valueapp:<application_id>@<tenant_id>app:df1b8569-352d-4be0-acf3-847a2e72aee0@564006af-8627-42d3-b8a6-30a1f1e69fab - Click Add
![]()


Build Logic App
- Open Logic App and navigate to Designer
- Click on Blank Logic App block in the designer window
![]()
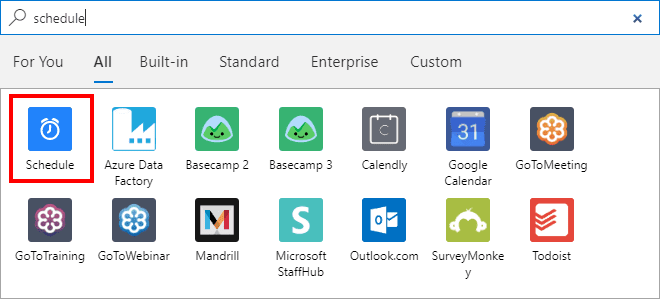
- Search for schedule trigger
![]()
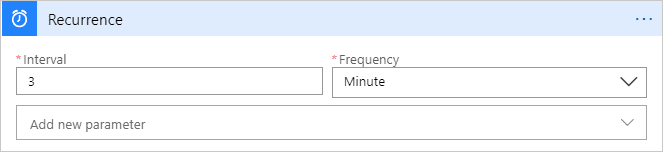
- And select for recurrence action
![]()
- Add new step
![]()
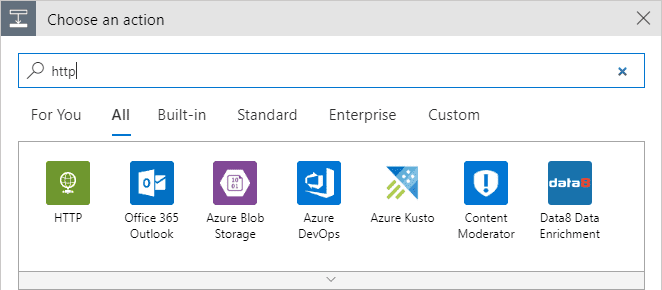
- Search for HTTP action
![]()
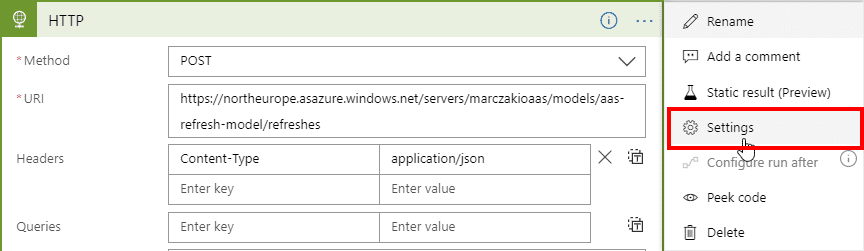
- Configure HTTP call as follows
![]()


- Method - submitting new refresh schedules are always done with POST calls
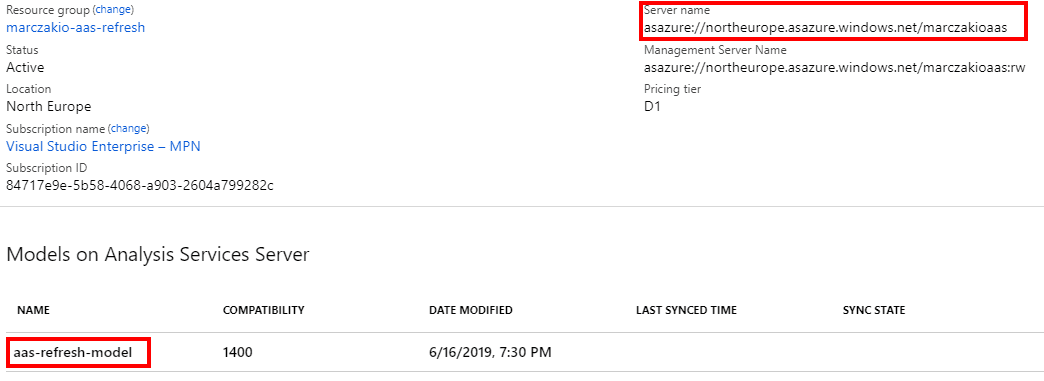
- URI is built as
https://<rollout>.asazure.windows.net/servers/<serverName>/models/<resource>/refreshesIn this example the URL would be, rollout - region name, northeurope, servername - analysis services instance name, marczakioaas, resource - analysis services model name, aas-refresh-model![]()
![]()
- Headers - only header required is Content-Type with application/json value since a JSON configuration will be sent over
- Body - Send over request details. For full refresh send below request.
It is also possible to refresh model partially. In this case in the Objects property send list of tables or partitions to refresh.
{ "CommitMode": "transactional", "MaxParallelism": 2, "Objects": [], "RetryCount": 2, "Type": "Full" } - Authentication - Authenticate to Analysis Services using previously created application. Pass previously saved values and add https://*.asazure.windows.net URL as Audience.
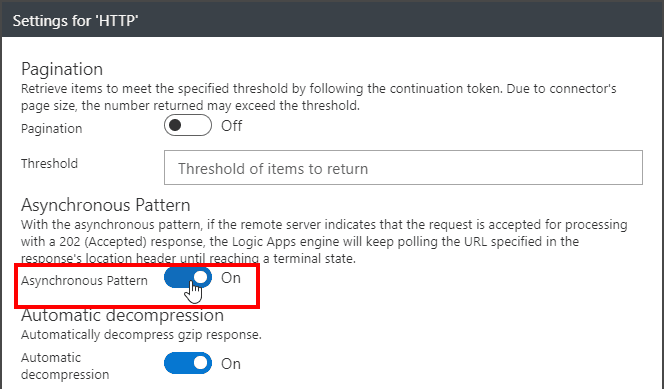
- Click on three dots on current HTTP call step and select Settings
2.Find Asynchronous Pattern option
![]() 2.Unselect Asynchronous Pattern
2.Unselect Asynchronous Pattern![]()
![]()
- Add new step
![]()
- Search for Variables and add new Initialize Variable step. This variable will be used in loop iteration to check for refresh status.
![]()


- Name - call it refreshStatus
- Type - make it string
- value - leave this empty
- Add new step
![]()
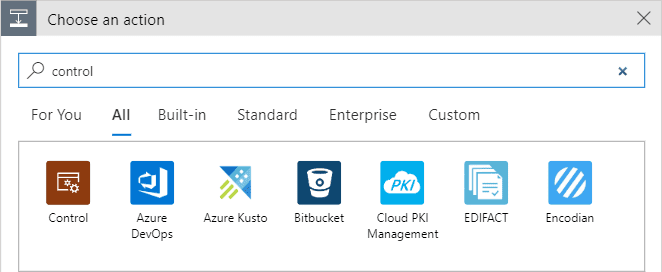
- Search for Control
![]()
- Add Until action
![]()
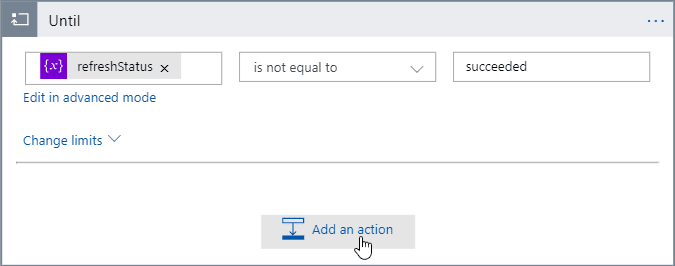
- Configure until loop condition to refreshStatus is not equal to succeeded
![]()
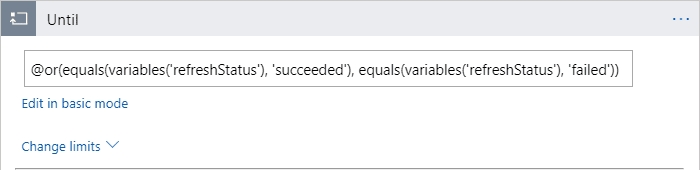
- In order to handle failed status an advanced editor must be used with following formula.
![]()
@or(equals(variables('refreshStatus'), 'succeeded'), equals(variables('refreshStatus'), 'failed')) - Add new step
![]()
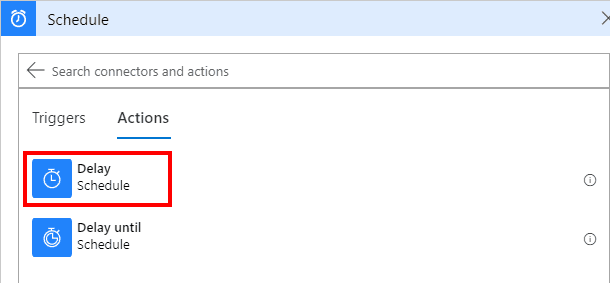
- Search for Schedule action group and select Delay action
![]()
- Set it to 30 seconds, fine tune this setting later on.
![]()
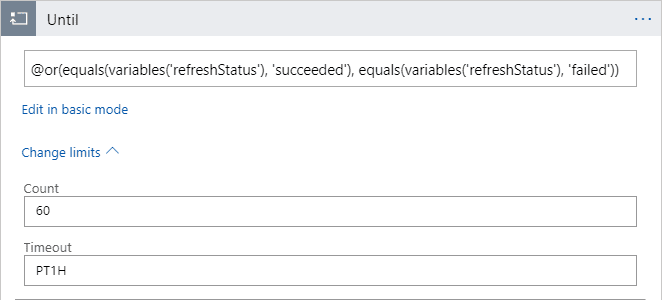
- Optionally fine tune until loop limits.
![]()
- Click on add an action button and add new HTTP step
![]()


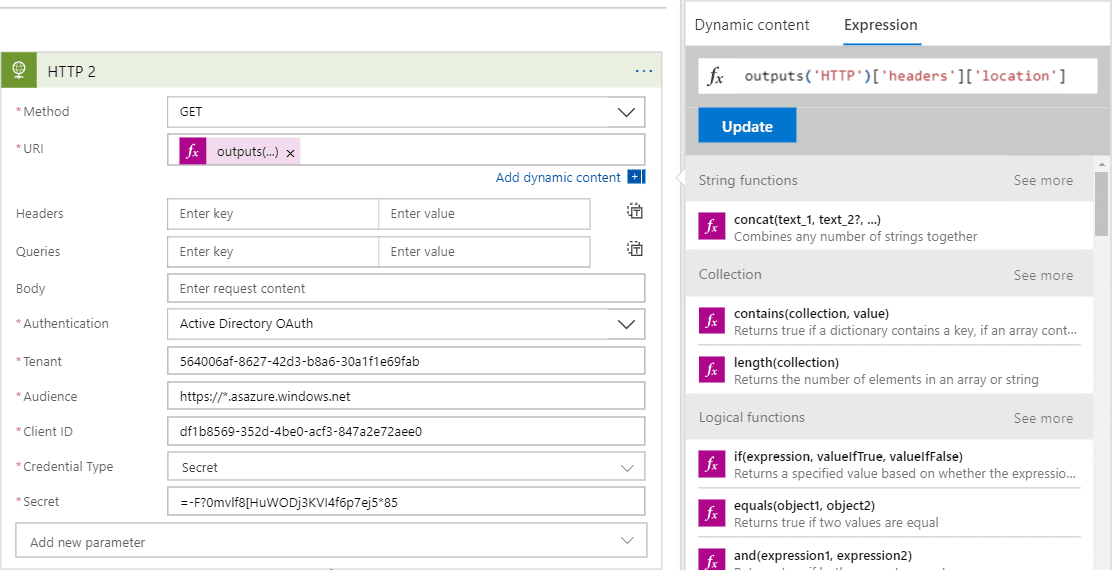
- Method - getting status of refresh is done using GET method
- URI is build as
https://<rollout>.asazure.windows.net/servers/<serverName>/models/<resource>/refreshes/<refresh_id>HTTP call which submits refresh to analysis services return “Location” header. This header contains full URL with refresh ID which then can be used to check refresh status. This can be obtained using following logic app expression.![]()
outputs('HTTP')['headers']['location'] - Authentication - Authenticate to Analysis Services using previously created application. This should be configured exactly the same as in the first call.
- Add new step
![]()
- From Variables action group use Set variable action
![]()
- Configure with expression which replaces current value with retrieved status using following expression
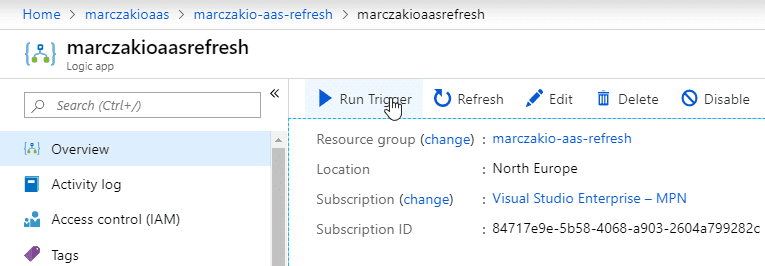
body('HTTP_2')['status'] - Save Logic App and run it
![]()
- Check the status
![]()
- Review logic app run
![]()


Final thoughts
When going to production it would be advised to add until loop which will try to submit process refresh until available slot comes appears. This of course depends on the refresh type and if process is not very complex or there are no multiple separate orchestration flows, then this might simply not be required.
Summary
A careful reader should by now understand and be able to execute following activities
- Understand basics of Azure Analysis Services refresh API
- Set up an application account (service principal) and assigning administrative privileges to this account on Azure Analysis Services
- Submit REST calls to Azure Management API and controlling Azure Analysis Services Refreshes
- Orchestrate workflows using Logic Apps
If you enjoyed this article you might want to check how to set up Analysis Services with On-premises gateway.