Highlight
With the release of Visual Studio 2017 15.3 developers can take advantage of new Tools for Azure Functions. Learn how to take advantage of those tools to deliver pre-compiled bots for Azure Bot Service.
Building chat bots for Azure Bot Service is very simple and takes little to no effort this days. In minutes fully functional bots can be presented to a client. Although the development doesn’t end there.
Why would anyone pre-compile bots?
Working in browser development environment has its perks. Developers and architects can quickly develop, prototype, test, present and then delete everything and start over with no almost cost or time investment. As good as it sounds it’s only good for proof of concept and demo projects. For long term projects developer needs versioning, code repository, continues integration/deployment, team collaboration space and last but not least strongly typed language. Strong typing is crucial in day to day programming and C# Scripting (CSX) does not deliver this. To create bots with classic C# a conversion of standard CSX template must be done.
Prerequisites
- Visual Studio 2017 15.3
- Azure Subscription
Instead of reading you can watch!
Different people prefer different medium and with this in mind this video was created. It contains no sound just presents the tutorial.
Creating a Bot in Azure Portal
For the purpose of this article a simple Form Flow bot will be created. All bots templates always have the same root function that executes entire logic and for that reason the same steps can be applied in case of every bot.
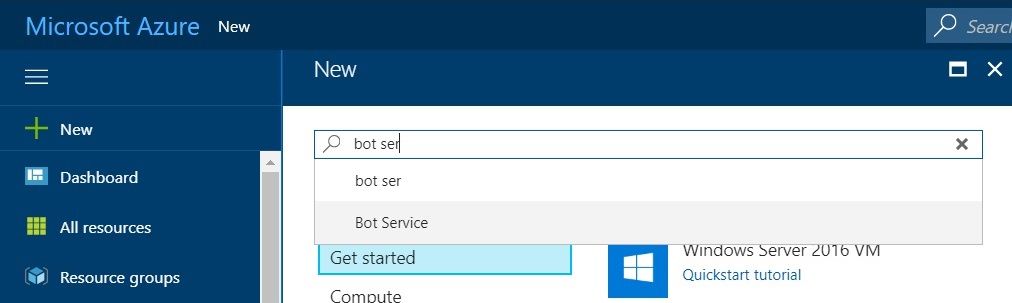
- Log into Azure Portal
- Find Azure Bot Service in Marketplace
![]()
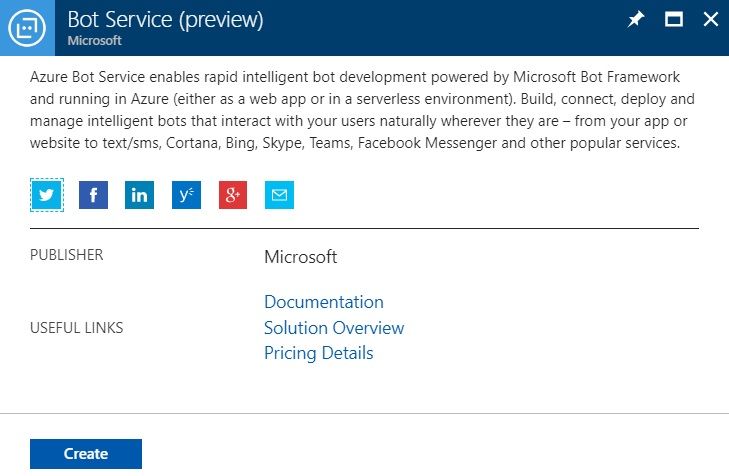
- Create Bot Service
![]()
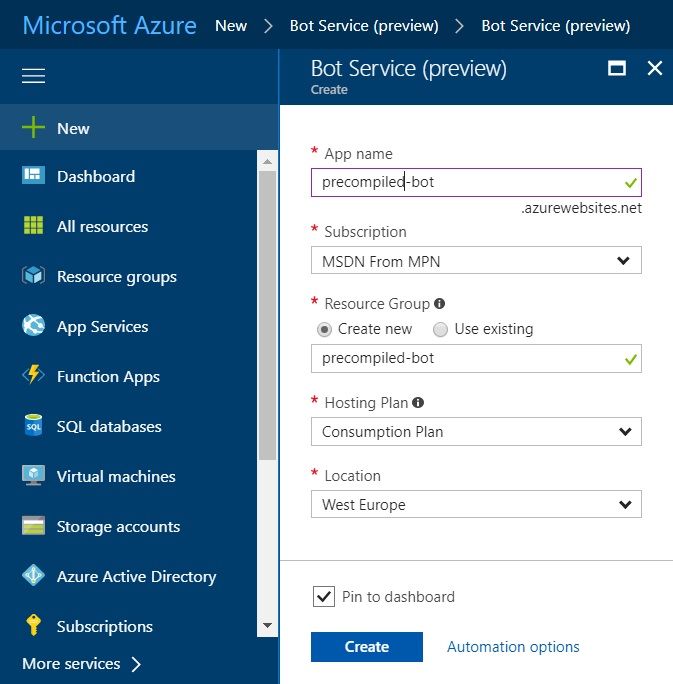
- Fill in the data.
- Consumption Plan will Functions pricing model (pay per execution). Preferred for most bots.
- App Service Plan will use App Service (pay for reserved capacity). Preferred if using Free Tier for learning purposes.
Portal should automatically open bot editor after deployment is successful. If not open bot can be opened via either Portal > App Services, Notifications or Dashboard if ‘Pin to Dashboard’ option was selected.
![]()
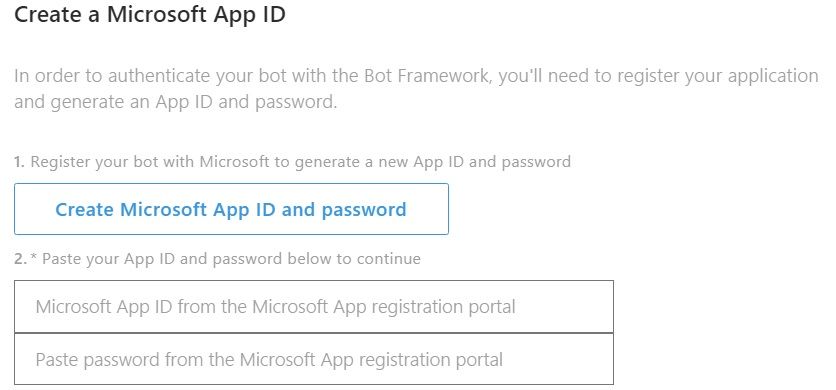
- Click create button redirects to Microsoft App Registration page where application must be first registered.
Note: Forgetting to save app password might be troublesome in some scenarios but this isn’t the case. App password will be available in bot app settings
![]()
![]()
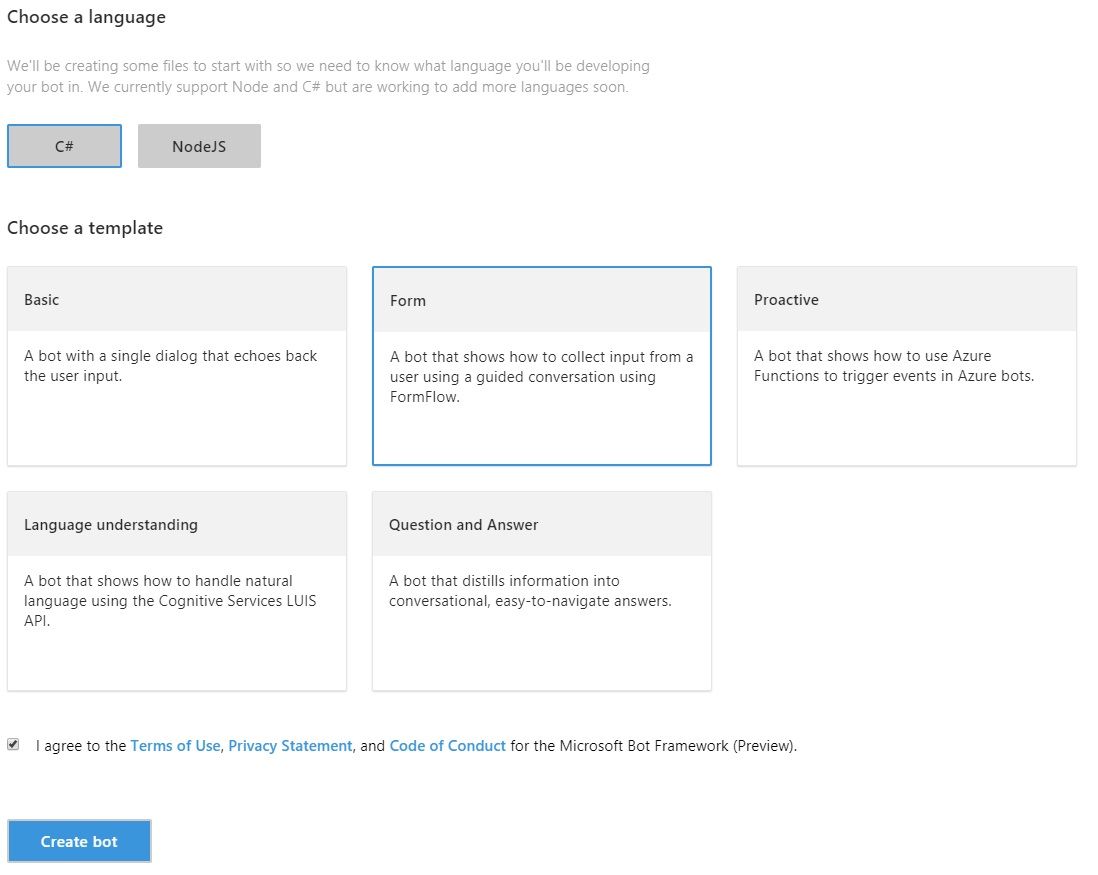
- Set C# as language and choose Form template.
![]()

Converting template
There are many ways to approach conversion of template from interpreted C# scripting (CSX) to compiled files (CS). Completely new template in Visual Studio with simple copy-paste seems to be most straight forward one.
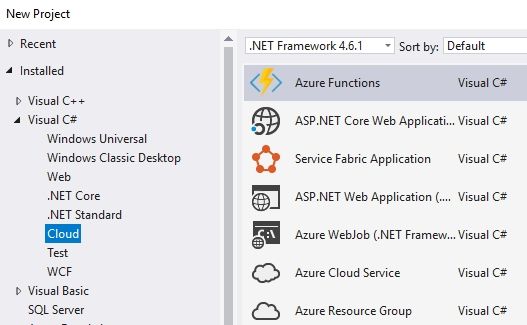
- Create new Functions Project in Visual Studio by selecting Azure Functions project
In order for Azure Functions to appear on the list following items must be met
![]()
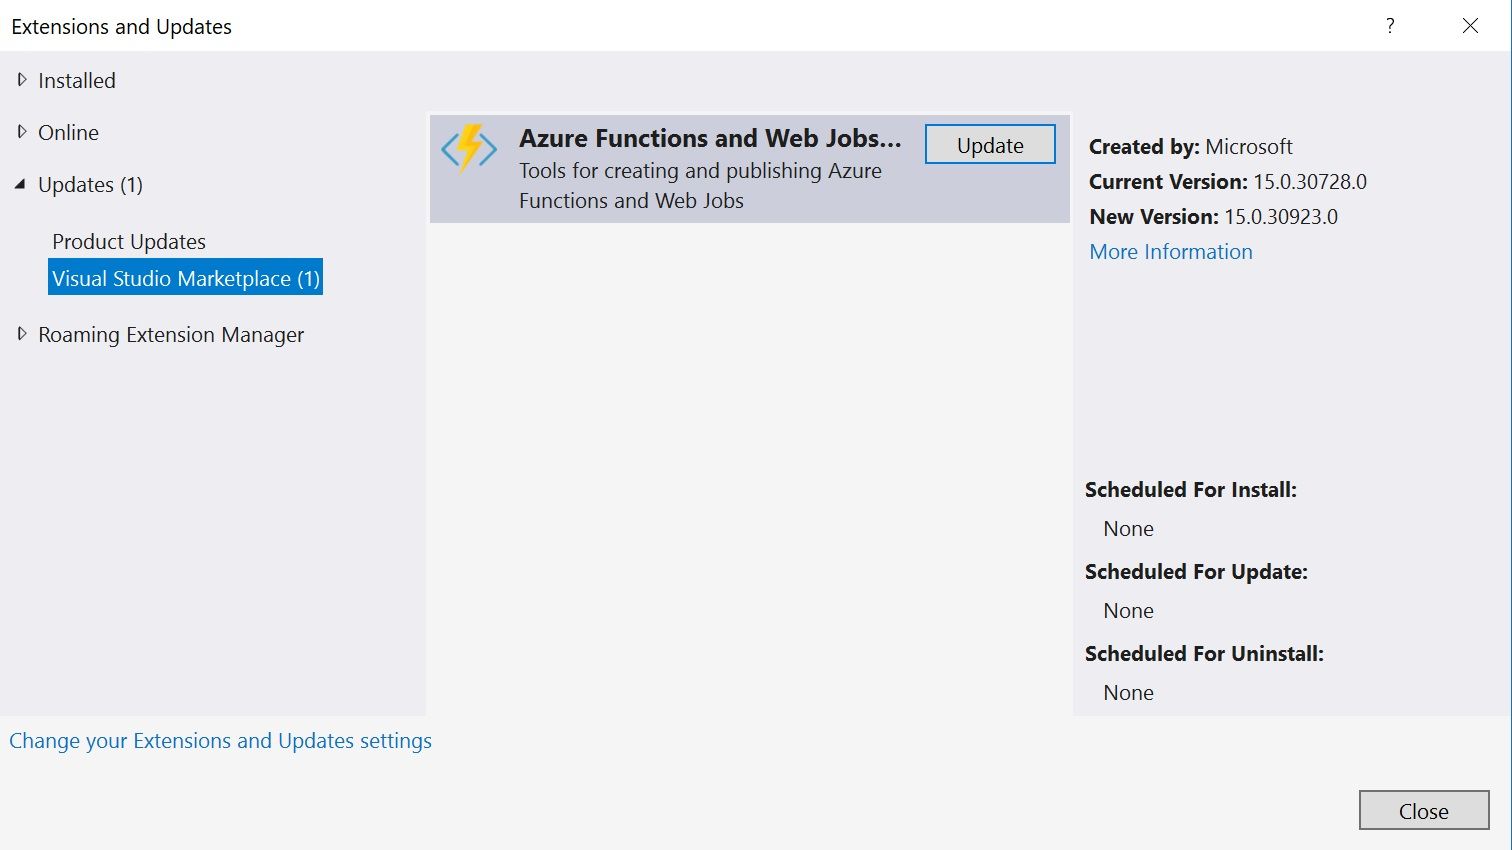
- Visual Studio is in version 15.3 and above
- Visual Studio Azure development tools are installed
- Visual Studio Azure Function Tools extension is up to date
![]()
- More into at MSDN article
- Right-click on project references and select Manage Nuget Packages
- Install Microsoft.Bot.Builder 3.9.0
- Install Microsoft.Bot.Builder.Azure 3.2.3
- Copy the contents of Azure Functions from Azure Web Project to Visual Studio project. There are three files that needs to be moved Messages.csx to Messages.cs, MainDialog.csx to MainDialog.cs and BasicForm.csx to BasicForm.cs
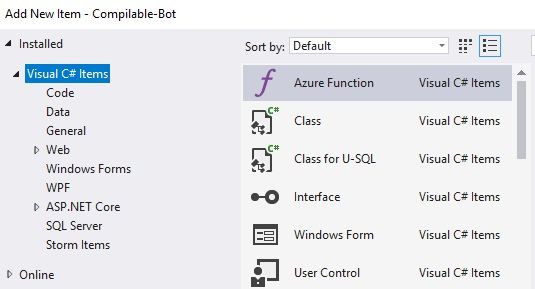
- Right-click the project and Select Add New Item
![]()
- Select Http Trigger template and name the file Messages
![]()
- Copy the body of messages function from messages.csx to messages.cs file and fix missing namespaces. Use CTRL+. shortcut. Note: Only body of the function should be copied, function definition should be left as it was generated by VS.
- Right-click the project and Select Add New Item and add two new classes MainDialog.cs and BasicForm.cs
- Copy paste entire classes from web browser to VS project and again fix the namespaces.
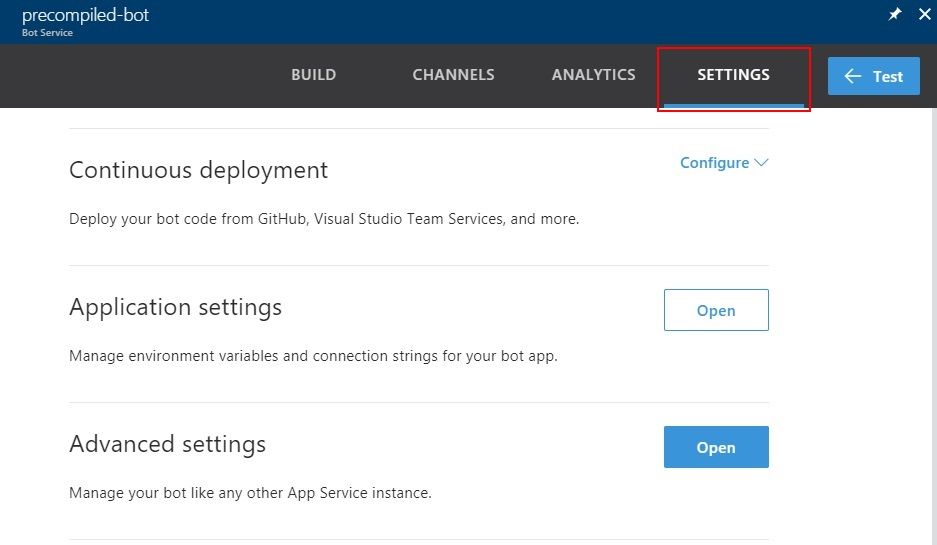
- Download the publish profile from the web for the bot
- Go to portal and in your bot editing window select Settings tab and in Advanced Settings section click Open button
![]()
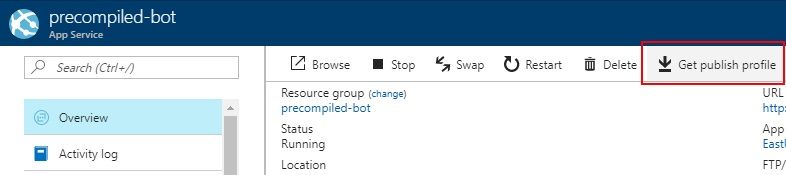
- Click download Publish Profile
![]()
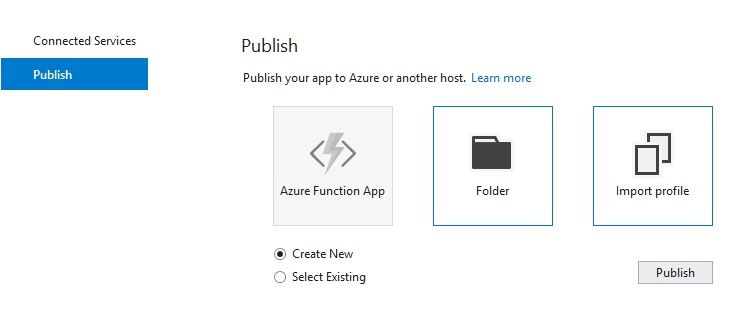
- Right-click on the Visual Studio project and select Publish. From the given options click on Import Profile and hit Publish.
![]()
- Select location of your profile download location and publishing process will automatically start. Project automatically rebuilds and restores packages at this point so it might take longer the first time.
![]()


After successful publishing give platform a moment to rebuild the bot and start testing it right away. Testing in browser works fine although developers no longer will be able to see or modify the code there.
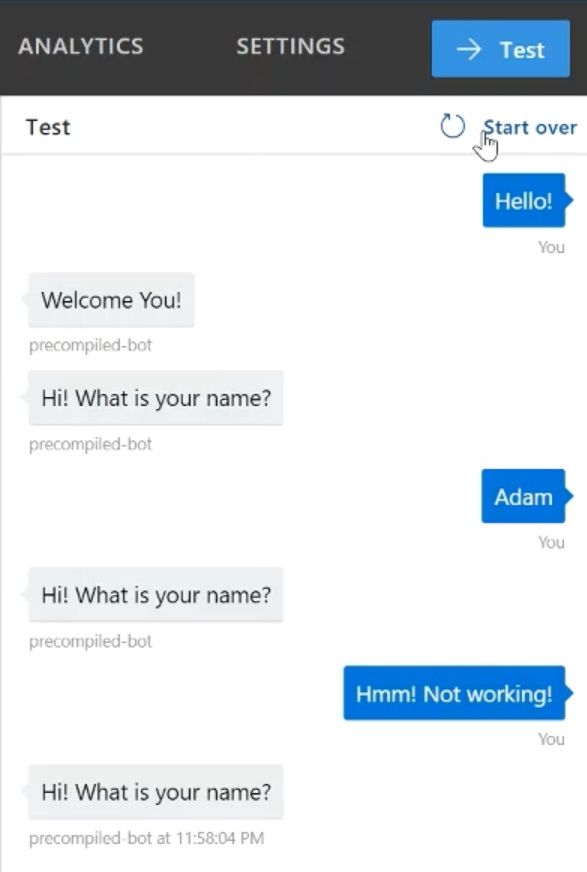
But HEY! Something is wrong!
It takes less than a minute to notice that something is wrong. When talking to bot every conversation resets to the beginning. The root cause of this issue is that in current version of bot framework and azure functions there is a deserialization issue which results in bot losing it state and therefore starting every conversation from the beginning.
Happily for everyone Github user berhir found a decent workaround which he posted here.
Basically in order for state to work follow below steps.
- Add new class to project called AzureFunctionsResolveAssembly.cs
- Copy paste following class source code here
public class AzureFunctionsResolveAssembly : IDisposable { public AzureFunctionsResolveAssembly() { AppDomain.CurrentDomain.AssemblyResolve += CurrentDomain_AssemblyResolve; } void IDisposable.Dispose() { AppDomain.CurrentDomain.AssemblyResolve -= CurrentDomain_AssemblyResolve; } private Assembly CurrentDomain_AssemblyResolve(object sender, ResolveEventArgs arguments) { var assembly = AppDomain.CurrentDomain.GetAssemblies() .FirstOrDefault(a => a.GetName().FullName == arguments.Name); if (assembly != null) { return assembly; } // try to load assembly from file var assemblyDirectory = Path.GetDirectoryName(Assembly.GetExecutingAssembly().Location); var assemblyName = new AssemblyName(arguments.Name); var assemblyFileName = assemblyName.Name + ".dll"; string assemblyPath; if (assemblyName.Name.EndsWith(".resources")) { var resourceDirectory = Path.Combine(assemblyDirectory, assemblyName.CultureName); assemblyPath = Path.Combine(resourceDirectory, assemblyFileName); } else { assemblyPath = Path.Combine(assemblyDirectory, assemblyFileName); } if (File.Exists(assemblyPath)) { return Assembly.LoadFrom(assemblyPath); } return null; } } - And modify the Messages.cs class by adding AzureFunctionsResolveAssembly initialization just before BotService initialization
22 log.Info($"Webhook was triggered!"); 23 24 using (new AzureFunctionsResolveAssembly()) 25 using (BotService.Initialize()) - republish the bot
- Test it
![]()

That’s it. In just about 10 minutes of work precompiled bot is fully functional and now proper CI/CD and unit testing can be done.
Play around with it!
Now just go and start building chatbots.
Source Code


