Highlight
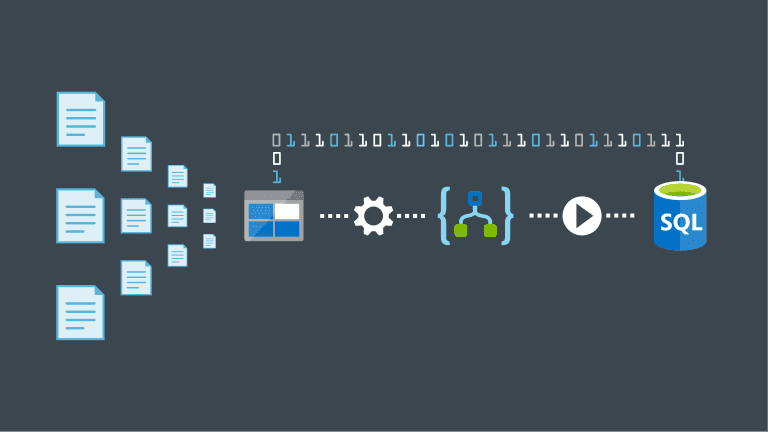
Check out how to leverage Azure Blob Storage and Logic Apps for simple scenario of data loading from CSV into Azure SQL in less than 30 minutes and with almost no coding.
Intro
About any developer out there at some point or another had to automate ETL process for data loading. This article will present a fast and convinient way to create data loading workflow for CSVs using Azure SQL and blob storage.
Data Factory is also an option
If you are interested in loading data, there is now alternative path available. On my channel I show introduction to Azure Data Factory in which I showcase the scenario of Blob Storage CSV to SQL loading. Everything just under 10 minutes. Feel free to check it out!
Prerequisites
In order to execute this scenario a developer must have following tools
- Azure Subscription
That’s it!
Design
Preparation of design is a crucial setup in delivery of complete architecture. In this example, following design choices were made
- Azure Blob Storage for purpose of uploading and storing input data files
- Storage will have container called input which will store all unprocessed input files
- Storage will have container called output where all processed files will be moved and their name will be changed to match date of processing
- Azure Logic App which will be triggered where new file appears in input container of blob storage
- Azure SQL that will store data model, loading procedure and the data itself
Process flow
It only takes three very small components for this scenario to be implemented. With that said let’s now discuss how will the process look like. Diagram below presents overall architecture of the solution.
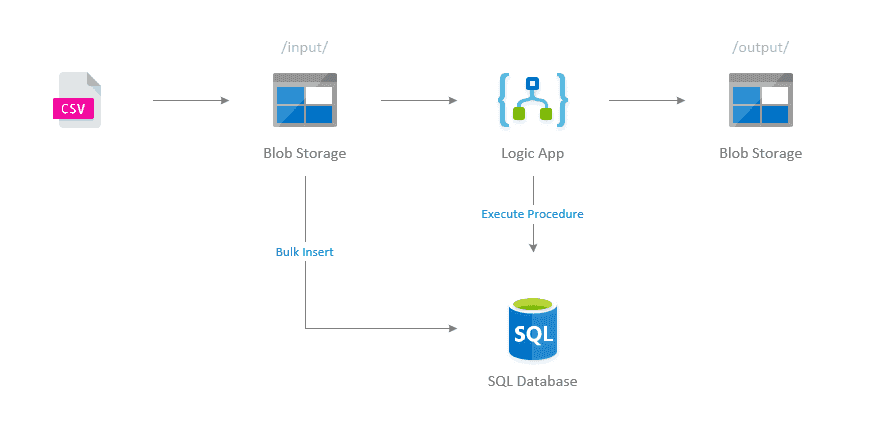
Diagram covers following high level steps
- Uploading CSV file to blob storage (be it via portal or automated way in future)
- Triggering logic app whenever there is a new file in the storage
- Logic app connects to SQL database and triggers data loading procedure
- SQL database runs procedure which is using BULK INSERT command to connect to blob storage and load data
- Logic app moves processed file to outputs on successful load
Provisioning
Log into Azure Portal and start creating resources.
Resource Group
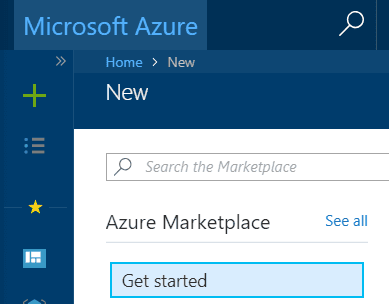
- Click on “+” sign and type in Resource Group in Search window
![]()
- Click on the result and click on Create button
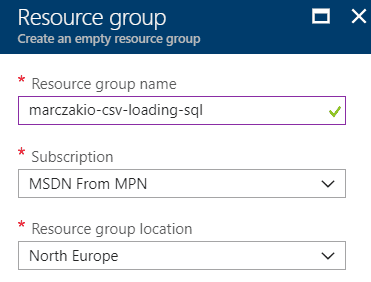
- Give it a name and hit Create again
![]()
Blob Storage
- Click on “+” sign and type in Storage account in Search window
![]()
- Click on the result and click on Create button
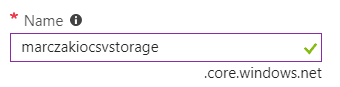
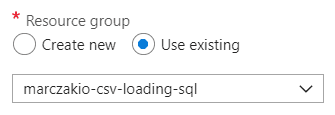
- Give it any name and leave everything else default. For the resource group select Use existing and select resource group from previous step
![]()
![]()
- Hit Create (optionally select pin to dashboard before clicking)
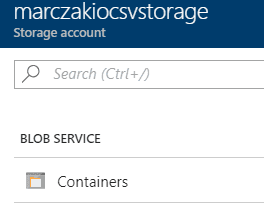
- When the resource is created go to its options and click on Containers blade
![]()
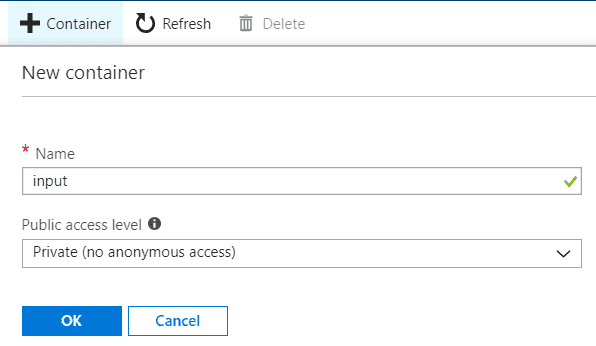
- Create two new private containers called input and output
![]()
SQL Server & Database
- Click on “+” sign and type in SQL Database in Search window
![]()
- Click on the result and click on Create button
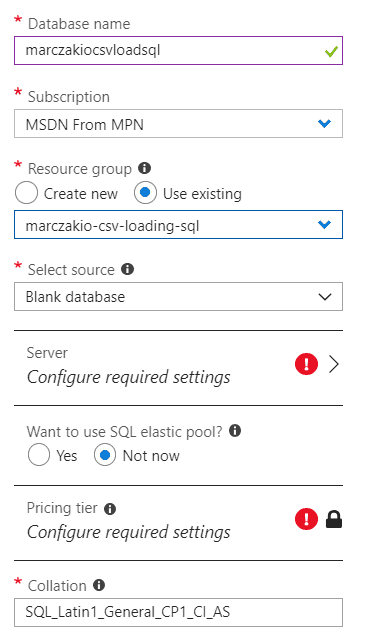
- Provide following values to the prompt
![]()
- Name for the database
- Select existing resource group from previous step
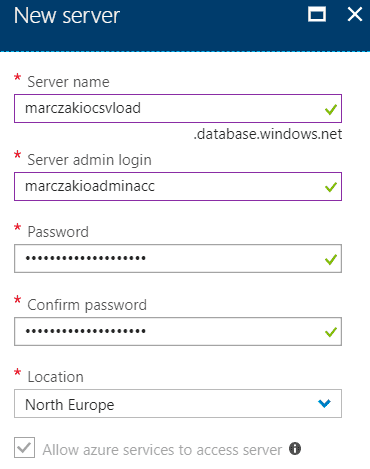
- Since there is no SQL Server yet to host our database it is also required to create on at this point. For this click on the server and then Create a new server button.
- Provide server name (this will be public DNS address of created server), admin login name and password
![]()
- Hit Select button
- Hit Create (optionally select pin to dashboard before clicking)
Logic App
- Click on “+” sign and type in Logic App in Search window
![]()
- Click on the result and click on Create button
- Give it a any name, for the resource group select Use existing and select resource group from previous step
![]()
- Hit Create (optionally select pin to dashboard before clicking)

Development
I did mention previously that there will be almost no coding.
Before settings up database and loading procedure, a special access token must be generated so that SQL database can connect to blob storage and read files from there. This token is called SAS (Shared Access Signature) token.
Blob Storage
- Navigate to previously created blob storage in Azure Portal
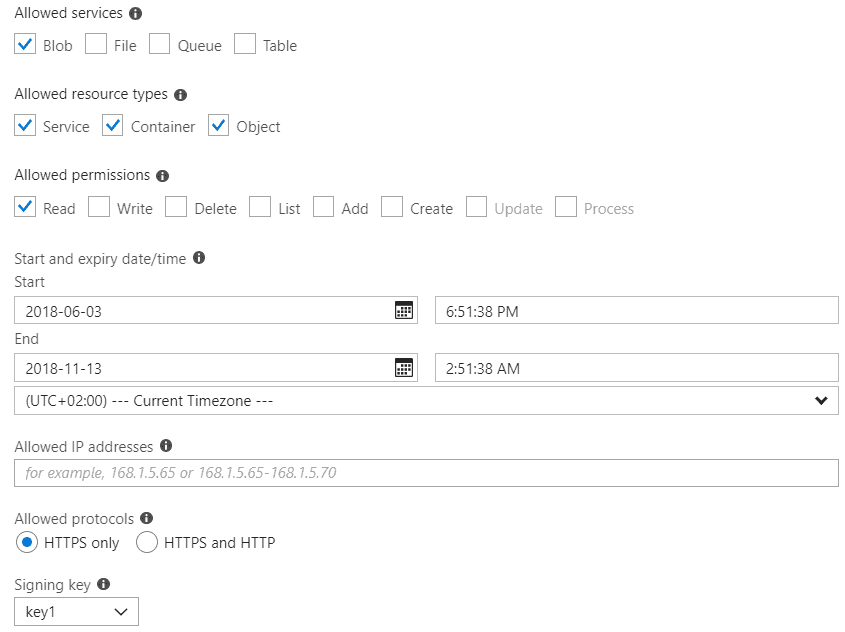
- Select Shared Access Signature blade
![]()
- Create SAS token with following settings
Ensure that the End Date is far enough in future and replace this once it’s expired. In production system an operations team can handle this or simply create a very small logic app that will generate new token and update the database credential.
![]()
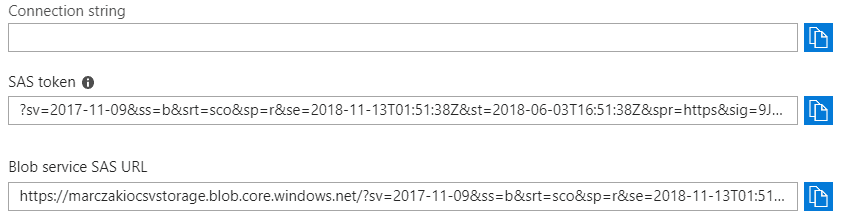
- Click Generate SAS and connection string and copy value of generated SAS token for further use. When this screen is closed a new token will have to be created if lost.
![]()
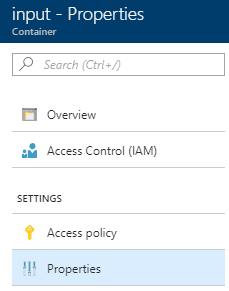
- Navigate to Containers blade
- Click on the input container
- Click on the properties blade
![]()
- Copy the URL value from the properties tab

SQL Server & Database
Now finally for the database
- Navigate to previously created SQL database in Azure Portal
- Click on Query Editor
Optionally and recommended way to do this is via SQL Server Management Studio but for such simple scenario query editor is good enough.
![]()
- Click on the Login button and provide previously set password
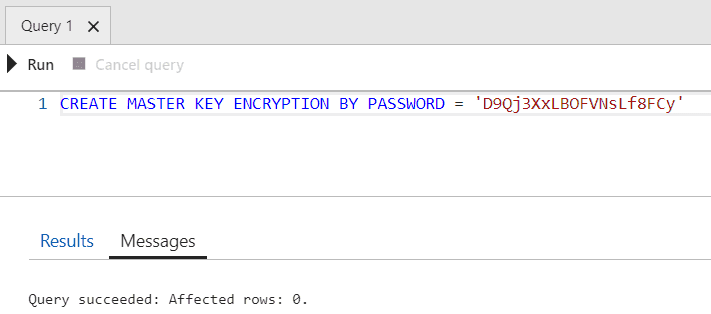
- In the query window execute following SQL statement and replace unique string with secret key for the database. This creates master key which is used to encrypt all secrets in the database.
CREATE MASTER KEY ENCRYPTION BY PASSWORD = 'UNIQUE_STRING_HERE'![]()
- Create new credential object that will be used by the database to connect to blob storage. Replace SAS token value with value from previous steps. Note that there is no question mark at the begining of the secret
CREATE DATABASE SCOPED CREDENTIAL BlobCredential WITH IDENTITY = 'SHARED ACCESS SIGNATURE', SECRET = 'sv=SAS_TOKEN_HERE'; - Create new connection to blob with previous credentials
CREATE EXTERNAL DATA SOURCE AzureBlob WITH ( TYPE = BLOB_STORAGE, LOCATION = 'https://marczakiocsvstorage.blob.core.windows.net/input', CREDENTIAL = BlobCredential ); - In this example a CSV file with two columns ID and VALUE will be loaded for simplicity. So next step is to create table with those columns in the database using following SQL.
File will look like this and will be named input.csv
CREATE TABLE MyData ( ID int, VALUE nvarchar(400) )ID,VALUE 1,Adam 2,Tom 3,Max 4,LJ 5,Jason 6,Thomas 7,Piotr 8,Anna 9,Jessabelle - Now the last step is to create a procedure which will load data from the input.csv file to MyData table.
Few important things to note here
CREATE PROCEDURE LoadData AS BEGIN DELETE FROM [dbo].[MyData]; BULK INSERT [dbo].[MyData] FROM 'input.csv' WITH ( DATA_SOURCE = 'AzureBlob', FORMAT = 'CSV', FIRSTROW = 2 ); END - In proper scenario delete and insert should be encapsulated in a transaction which will roll back in case of errors during the load.
- File name should be taken as parameter instead of static value and executed as dynamic SQL.

Logic App
The best for last. Since the setup is now complete, creation of logic app is very pleasant.
- Navigate to previously created blob storage in Azure Portal
- Select Edit button
- Select Blank Logic App
![]()
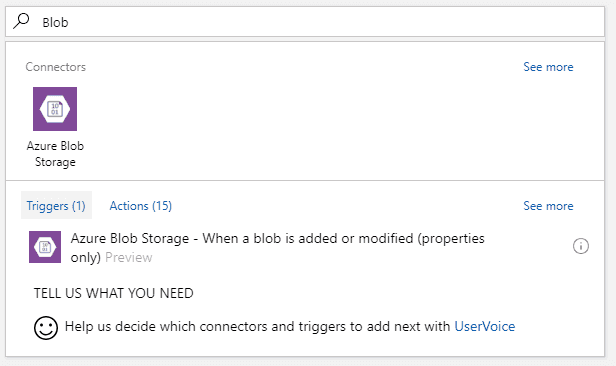
- Type in Blob in the search window and select Blob Storage trigger that appears
![]()
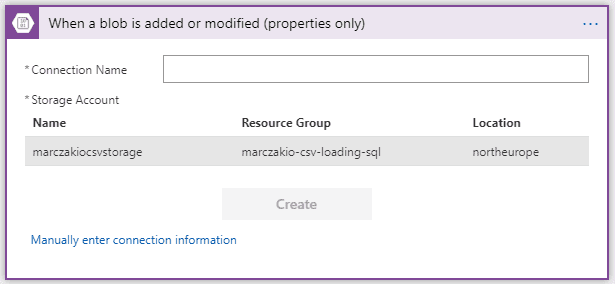
- Define new blob connection and give it a name. Select storage account created earlier so that azure automatically saves connection info.
![]()
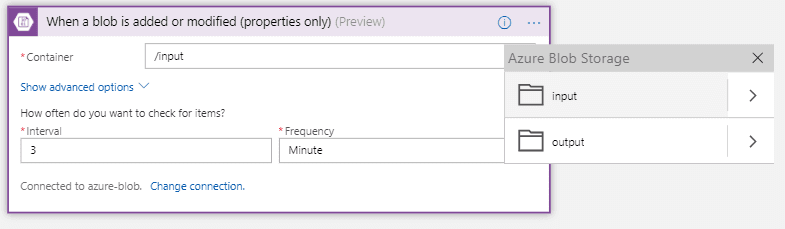
- Select input container
![]()
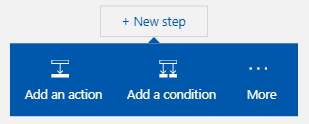
- Add new action
![]()
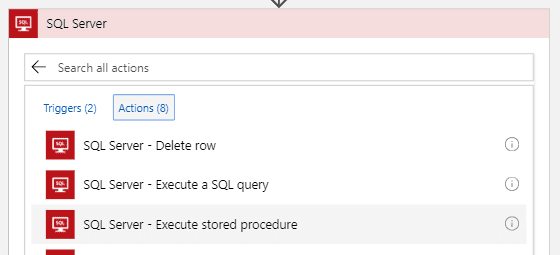
- Find SQL server and select Execute Stored Procedure in Actions Tab
![]()
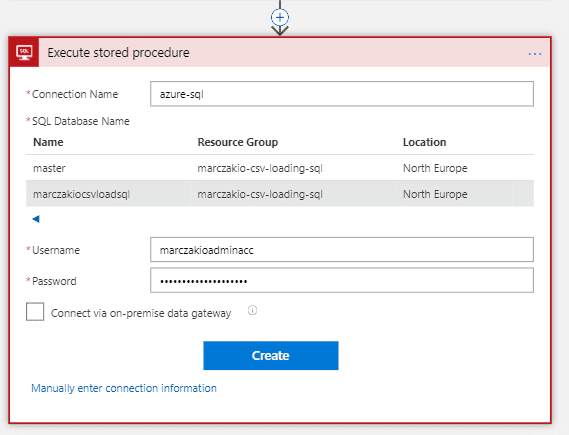
- Define new connection to SQL server, select previously created database and provide credentials for connectivity
![]()
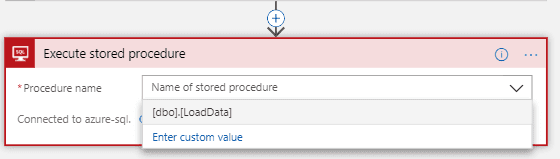
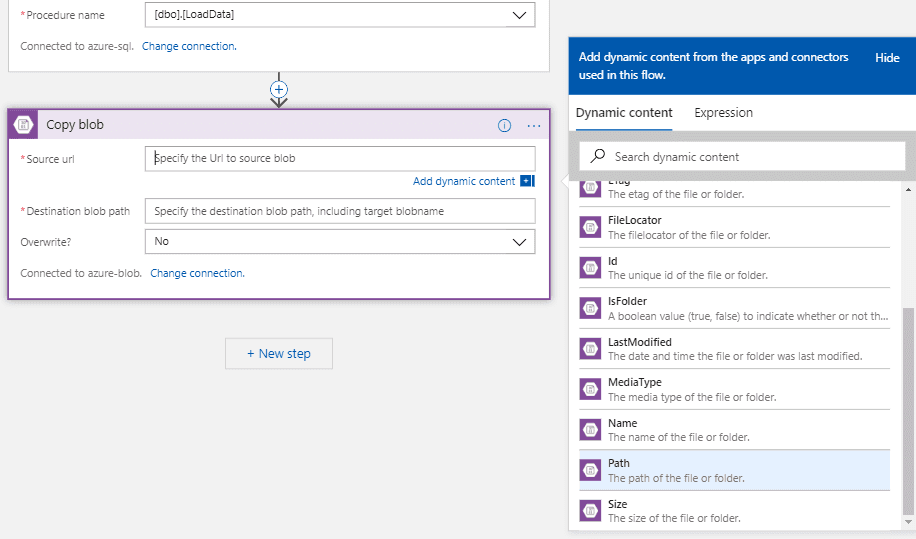
- Once connected select previously created procedure
![]()
- Add new action
- Select Blob Storage Copy Blob Action - because there is no ‘move’ action it is required for blob to be copied to new location and then for the old one to be removed.
In the source URL select Path object from the trigger step.
![]()
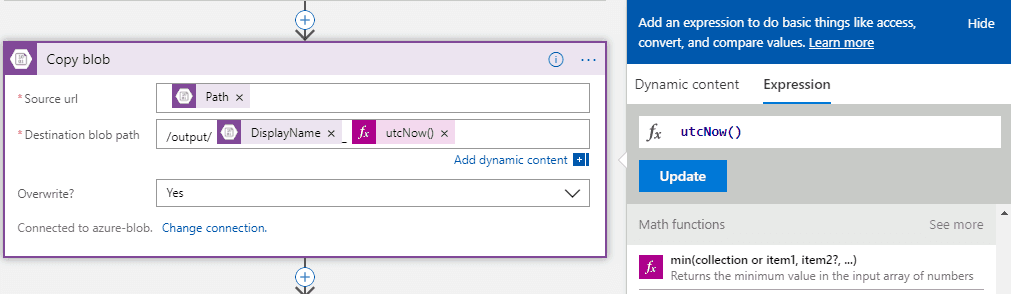
- Define destination path as conjunction of static path /output/ and dynamic name of file from the trigger step DisplayName and static underscore _ and finishing it with expression utcNow() so that uploading new input files will create different output files with the date suffix.
![]()
- Copy blob action should look like this.
![]()
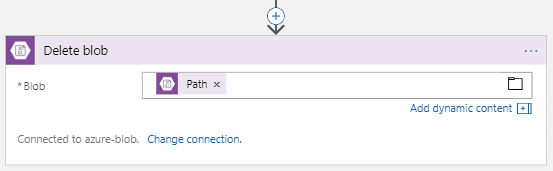
- Add new action
- Select blob delete blob action and add Path object from the trigger.
WARNING Make sure to select Path from the trigger. If Path from Copy Blob action will be selected a newly created file will be removed.
![]()
- Click save


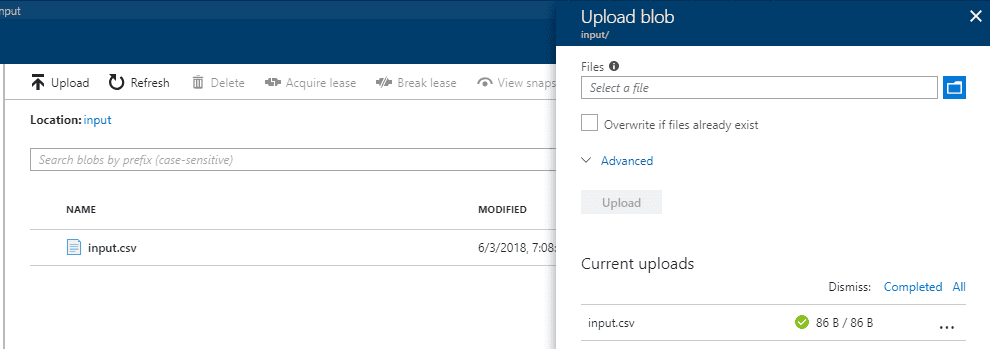
Test it!
- Navigate to blob storage input container
- Click on the upload button and upload input.csv file
![]()
- Check if the logic app ran by going to logic app interface
![]()
- Check out the output container
![]()
- And finally check the data in the database from the query editor
![]()


What’s next?
There are of ‘course some limitations and drawbacks to this design no doubt. With that said this is a good template to start from and expand.
- Read more about BULK INSERT and its bcp utility. For instance, to match columns and types using schema files.
- Consider using OPENROWSET when working with more complex data.
- Change loading procedure to accept file name parameter so that input files on the blob do not have to follow naming convention, rather be in proper location. Logic apps allows for discovery of parameters so it is very easy to integrate.


