
Highlight
Logic Apps are great but exposing them as publicly available HTTP service is clearly far from perfect. This article shows how to solve this challenge by using API Management service which be used to secure Logic Apps HTTP endpoint with Azure AD token authentication.
Intro
Logic Apps can be integrated with external services in multiple ways. One of the most popular is, integration through HTTP trigger. This way external services can call logic apps and get response in easy and flexible way.
There is one big issue with this approach. Currently, Logic Apps do not support authentication via anything else than URL code. This means, that anyone who has access to the URL can in fact call the API at any time. There is of ‘course setting for IP restriction but again, not every service has static IP that can be added to the list.
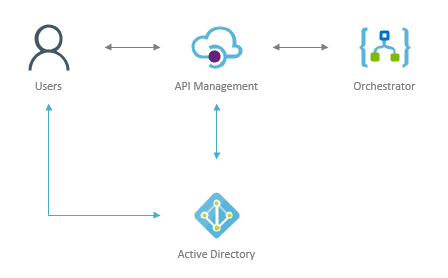
All that can be fixed with simple implementation of Azure API management solution which will proxy requests to logic apps and validate Azure AD JWT tokens on the way. This provides complete security of the solution.
Provisioning of Resources
API Management
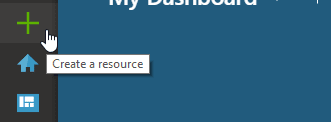
- Go to Portal and hit create resource.
![]()
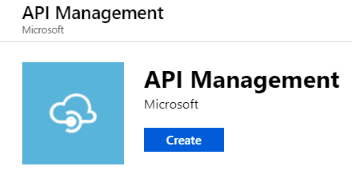
- Search for “API Management” and once found, click on it and hit Create button.
![]()
- Fill in the fields
![]()
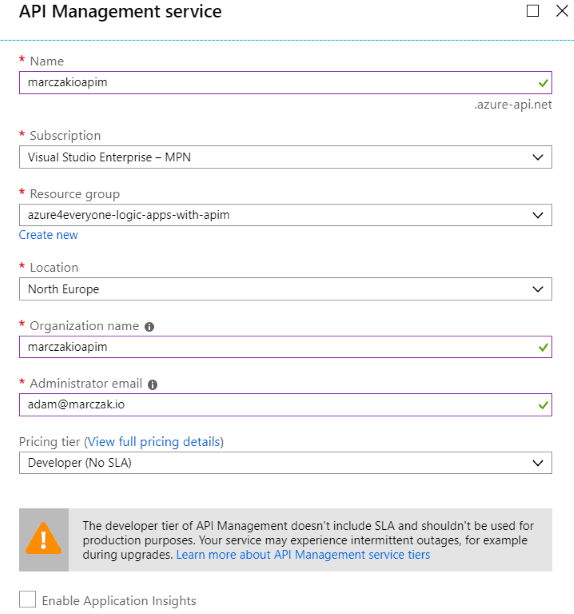
- Name - this is the same of API Management but also public DNS which will be registered during creation.
- Location - region of API Management; it’s best to place it in the same region as Logic App later created during later steps.
- Organization Name - for the purpose of the demo this isn’t relevant but it’s public name of organization when this API is published to developers. So, make it meaningful.
- Administrator email - administrators email. All communication regarding API management will go here.
- Pricing tier - select Developer (No SLA) tier. In case this is small application consider using Consumption plan as it’s very cheap. First 1,000,000 calls per Azure subscription are free and then the charge is very small. Note that changes between consumption and dedicated plans (dev, basic, standard, premium) are currently not supported. Also note that Consumption plan does not have static IP and as such IP restrictions are can’t be done.
Logic App
- Go to Portal and hit create resource.
- Search for “Logic App” and once found, click on it and hit Create button.
![]()
- Fill in the fields
![]()

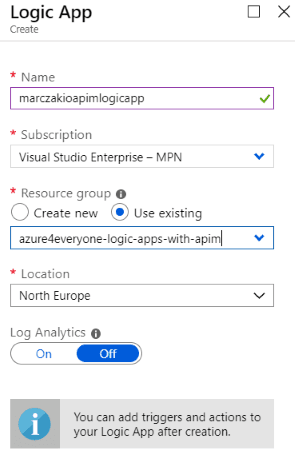
- Name - this is the same of logic app resource.
- Location - region of logic app; it’s best to place it in the same region as API management.
- Log Analytics - this this example set this as Off but in case of production solution, should be set to On so that all the logs are transferred to Log Analytics resource.
Simple RESTful service with Logic App
- Open Logic App
- Go to Logic App Designer and click on Blank Logic App
![]()
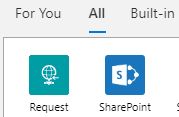
- Search for request action group, and select it
![]()
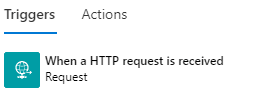
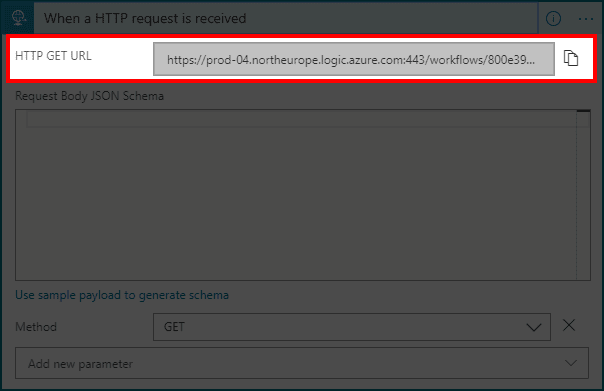
- Choose When a HTTP request is received trigger
![]()
- In new block hit Add new parameter and select Method
![]()
- In method parameter select GET method.
Note that this isn’t required. GET is just simpler to test and present the results than POST request which is default.
![]()
- Add new action
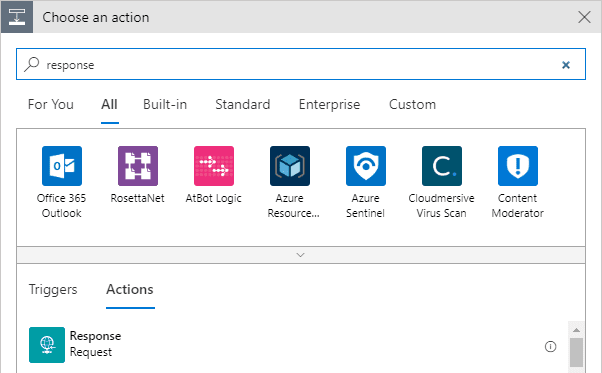
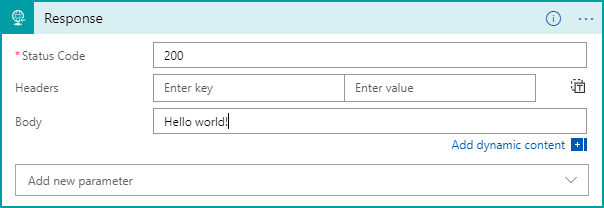
- Search for response and click on it
![]()
- Add Hello world! to response body
![]()
- Hit Save
- Copy URL from first step
![]()
- Open the URL in new window tab. A Hello world! response should be returned.
![]()


Securing App with API Management
IP Restriction
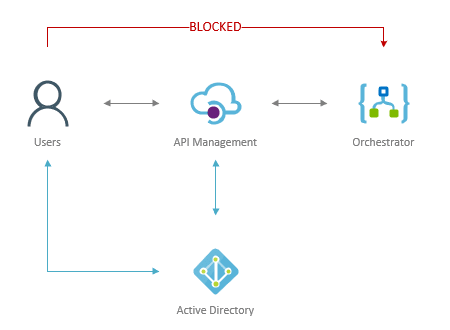
First of all, API management does not block access to the Logic App. It only provides secure way to connect to it. This means access restriction to Logic App must be done from the Logic App service. To do this, IP restriction can be used so that only traffic from API management will be accepted. This is possible because API management service has static VIP (virtual IP).
Note that API Management in Consumption tier does not have static IP and as such, this IP restriction steps can’t be applied.
This diagram presents the traffic flow that needs to be blocked. So that users can’t bypass API management via direct calls to Logic Apps.
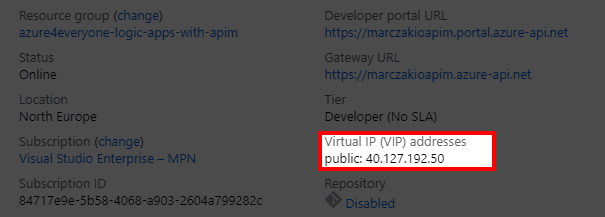
- Open API Management resource
- In the Overview blade find Virtual IP (VIP) address and copy it
![]()
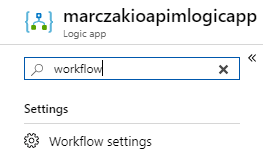
- Open Logic App resource
- Open Workflow Settings blade
![]()
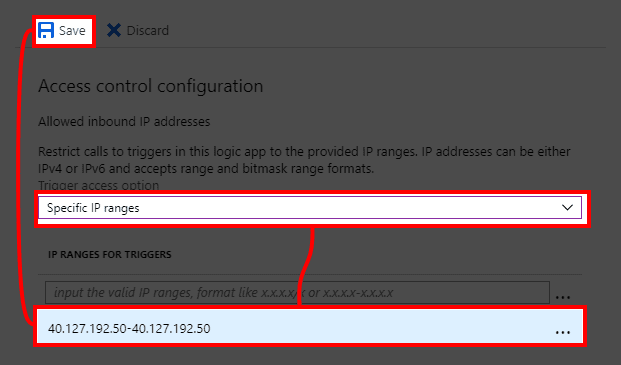
- Change dropdown in Access control configuration section to Specific IP ranges and add new rule which is VIP of API management from previous step. Use CIDR or range format and hit Save.
![]()
- Test the URL in browser. Expected response is authorization failed error.
![]()
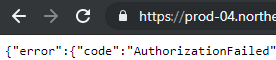
Now that this is done, Logic App is secured and will only be called from API management service.
Virtual Private IP - important note!
It is highly important to note that APIM VIP is not static forever. It is static for lifetime of tenant but with exception of three scenarios
- Service is redeployed
- Azure Subscription is suspended/warned
- VNet integration is added or removed
See documentation FAQ for API management for details.
API management configuration
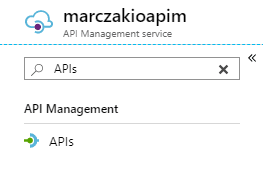
- Open API Management resource
- Go to the APIs blade
![]()
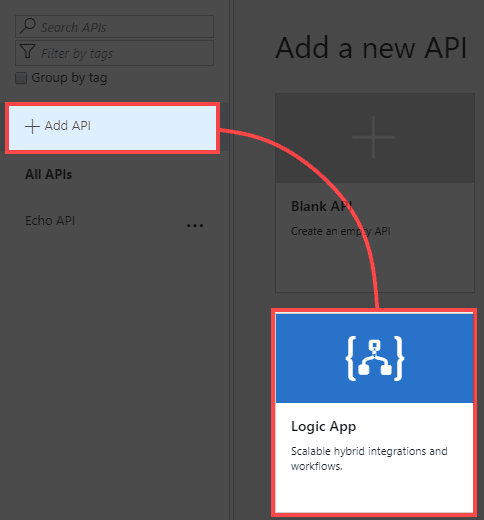
- Click on Add API and select Logic App
![]()
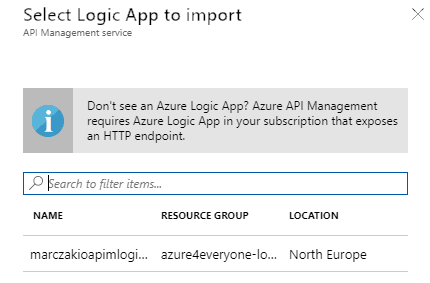
- Click on Browse button
- From the selection blade find logic app service that was previously created and click on it
![]()
- Review imported Logic App and hit Create
![]()
- When importing finishes go to Logic App API and click on Add Policy
![]()
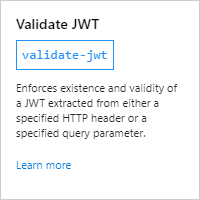
- Find and click on Validate JWT policy
![]()
- Configure it as follows using Full edit mode
![]()


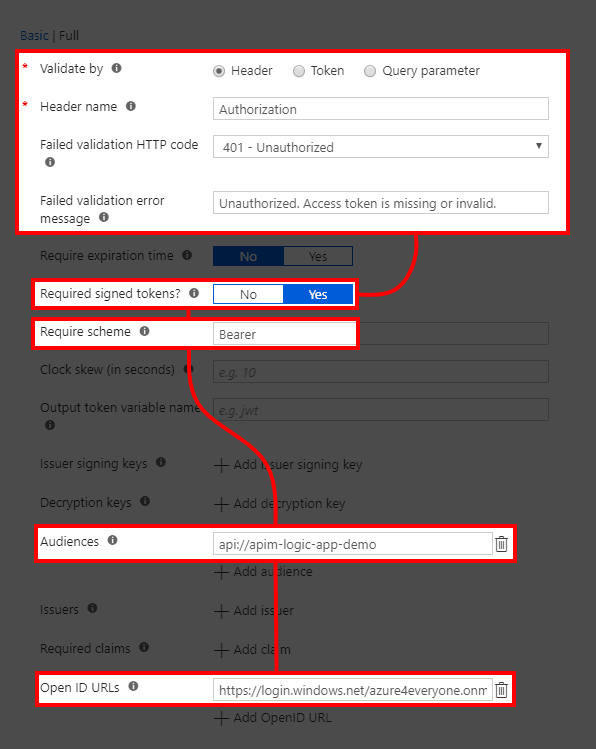
- Validate by - and set this to header validation.
- Header name - which header is going to be validated. In this case Authorization header.
- Failed validation HTTP code - what HTTP error code to return when validation fails.
- Failed validation error message - error messages which will be returned with code upon failure.
- Required signed tokens? - All Azure tokens are digitally signed so for extra security this can be set to Yes.
- Audiences - for enterprise security you should set this field. This will be API url which will be created during next steps. For us this is api://apim-logic-app-demo
- Require scheme - API should only accept tokens from with Bearer scheme.
- Open ID URLs - In case of Azure this is one of the two URLs from below.
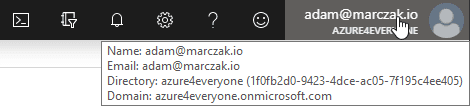
https://login.windows.net/<tenant_name>.onmicrosoft.com/.well-known/openid-configurationWhen not sure about the URL, hovering over user name gives this details. Both tenant name and ID.https://login.windows.net/<tenant_id>/.well-known/openid-configuration![]()
- Next click on Add Policy to one more policy which removes Authorization header from the request. This is because Logic Apps do not accept Authorization headers. If this step is omitted, following error will be returned.
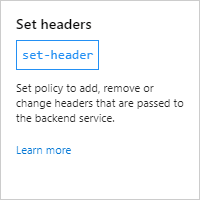
{ "error": { "code":"DirectApiAuthorizationRequired", "message":"The request must be authenticated only by Shared Access scheme." } } - Find Set header policy and click on it
![]()
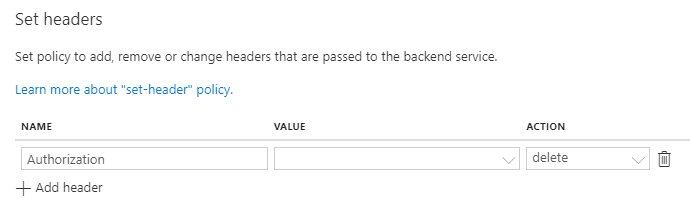
- Set Name to Authorization and Action to delete
![]()
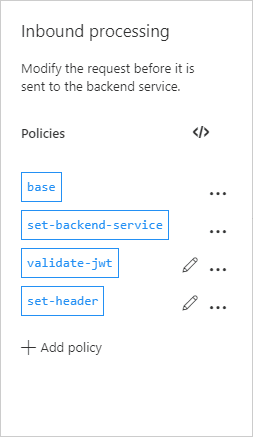
- Policies should look like this.
![]()
- Policy in policy code editor should look like this
<policies>

  <inbound>
    <base />
    <set-backend-service
      id="apim-generated-policy"
      backend-id="LogicApp_marczakioapimlogicapp_azure4everyone-logic-apps-with-apim" />
    <validate-jwt
      header-name="Authorization"
      failed-validation-httpcode="401"
      failed-validation-error-message="Unauthorized. Access token is missing or invalid."
      require-expiration-time="false"
      require-signed-tokens="true">
      <openid-config
        url="https://login.windows.net/azure4everyone.onmicrosoft.com/.well-known/openid-configuration"
      />
      <audiences>
       <audience>api://apim-logic-app-demo</audience>
      </audiences>
    </validate-jwt>
    <set-header name="Authorization" exists-action="delete" />
  </inbound>

  <backend>
    <base />
  </backend>

  <outbound>
    <base />
  </outbound>

  <on-error>
    <base />
  </on-error>

</policies>
Set up the Application API
Audience should always, always, always be validated. This means custom app needs to be created.
- Go to Azure AD
![]()
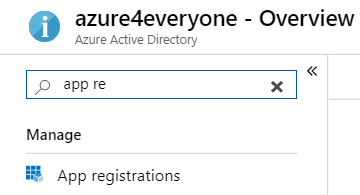
- Open App registration panel
![]()
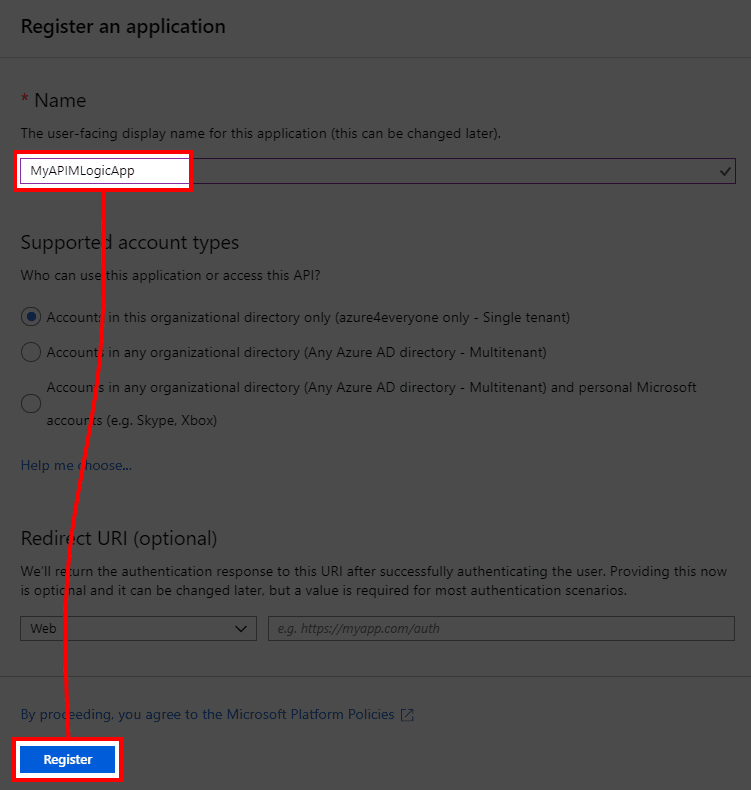
- Click on + New registration button and fill in the form just by giving it any name
![]()
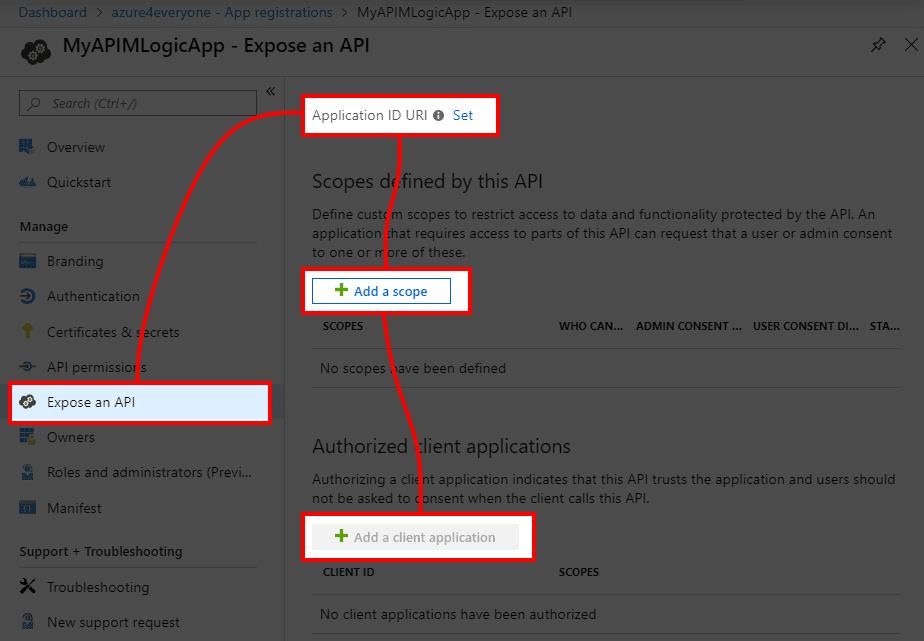
- In the app panel go to Expose an API blade
![]()
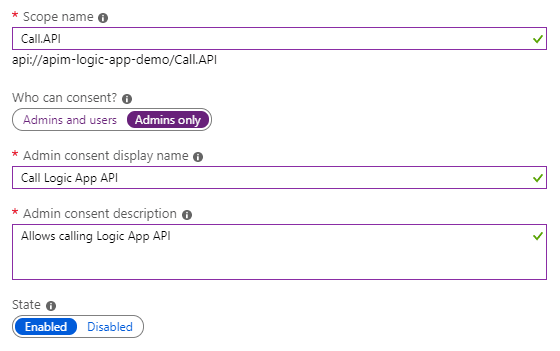
- Set Application ID URI, this will be audience that will be validated. In this example use api://apim-logic-app-demo value.
![]()
- Click Add a scope. At this time since only one API can be exposed it doesn’t matter, but scopes are important topic for larger applications.
![]()
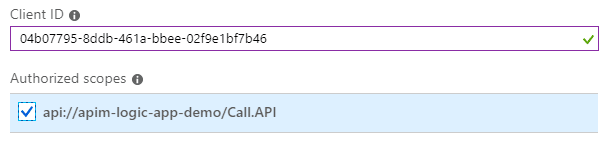
- Click on Add a client application and add Microsoft Azure CLI client ID so it can request tokens. In future remove it and only leave valid applications. This is OK for development only. Azure CLI client ID is always the same so simply add this value.
If in rare scenario this would change in future, simply run az account get-access-token command and parse it in JWT.io or any other website to get appid property.
04b07795-8ddb-461a-bbee-02f9e1bf7b46![]()
- Test the access token with audience by running following CLI command. It might need a minute to propagate so be patient.
az account get-access-token --resource "api://apim-logic-app-demo".

Test the access
Now that the setup is completed, testing can begin. There are several ways to test this, but the easiest that I found is using new Azure CLI. To make REST call both Azure AD token and API subscription key will be required.
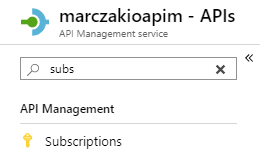
- Go to API Management resource
- Find Subscriptions blade and open it
![]()
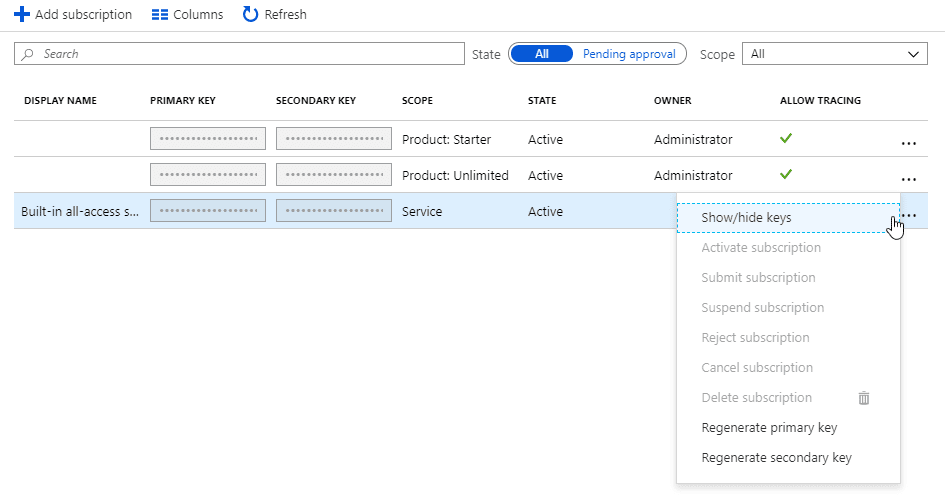
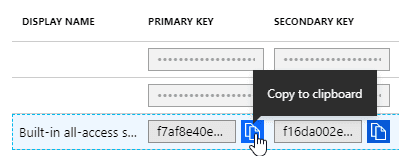
- Click on … (three dots) next to built-in all-access subscription and select Show/hide keys.
![]()
- Copy the key
![]()
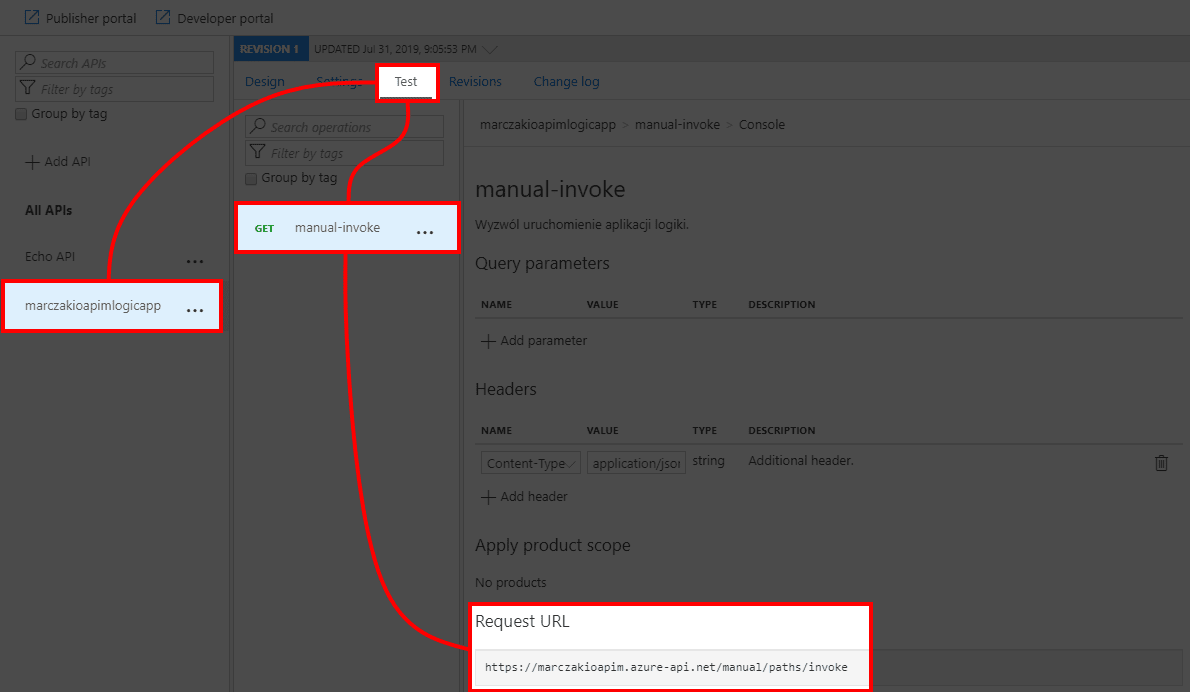
- Go to APIs blade and click on logic app API, select Test tab, then select created operation and find Request URL
![]()
- Using new az rest command from Azure CLI (2.0.67 version and up) it’s possible to make HTTP call to any service with automatically generated Azure AD token. It also allows to specify token audience with –resource parameter.
High level the command looks like this.
az rest
  --uri "<request_url>"
  --method GET
  --headers "Ocp-Apim-Subscription-Key=<key>"
  --resource "<resource_uri>"
- resource_uri is the audience for the token which is used in Validate JWT policy. This should be set to api://apim-logic-app-demo
- In this example call should look as below
az rest --uri "https://marczakioapim.azure-api.net/manual/paths/invoke" --method GET --headers "Ocp-Apim-Subscription-Key=2be35ef775ad4b338e0248f12b98c9f3" --resource "api://apim-logic-app-demo" - With response
![]()
- For older versions of Azure CLI on windows a bit more cumbersome but viable way is to do CURL
for /f %i in ('az account get-access-token --resource "api://apim-logic-app-demo" --query "accessToken"') do set VAR=%i
curl -H "Authorization: Bearer %VAR%" -H "Ocp-Apim-Subscription-Key:2be35ef775ad4b338e0248f12b98c9f3" "https://marczakioapim.azure-api.net/manual/paths/invoke"

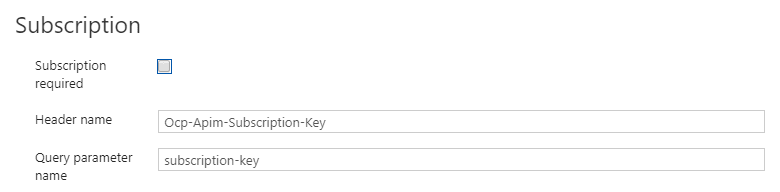
Subscription key
In case subscription key is not required, it can be disabled in Settings tab of API.
User/Application claims from Token
If there is a need to pass some user or application claims from the token into the logic app, then this information can be obtained from context headers. In most simple way this can be achieved using below code.
context
  .Request
  .Headers["Authorization"]
  .First()
  .Split(' ')[1]
  .AsJwt()?
  .Claims["unique_name"]
  .FirstOrDefault();
Important note here. When adding below sections, make sure they are BEFORE section which deletes the header.
A quick ‘one-liner’ to achieve this would be just setting header variable with above inline code.
<set-header name="X-UPN" exists-action="override">
  <value>
    @(context.Request.Headers["Authorization"].First().Split(' ')[1].AsJwt()?.Claims["unique_name"].FirstOrDefault())
  </value>
</set-header>
And if more than one header will be extracted then it’s worth to save extracted JWT header as variable to use in further steps.
<set-variable
  name="jwt-token"
  value="@(context.Request.Headers["Authorization"].First().Split(' ')[1].AsJwt())"
/>
<set-header name="X-UPN" exists-action="override">
  <value>
    @(((Jwt)context.Variables["jwt-token"])?.Claims["unique_name"].FirstOrDefault())
  </value>
</set-header>
Note that in those cases where the token isn’t correctly formatted those one-liners will fail. Because if there is no claim ‘unique-name’ present in the token the code will fail with result of 500 error on the client side. It’s OK to use those when application is using Azure AD because those fields will always be present but in case of custom JWT token generation, it would be advised to prepare custom code which handles incorrect token headers.
In this case full example would look as follows.
<policies>
<inbound>
<base />
<set-backend-service
id="apim-generated-policy"
backend-id="LogicApp_marczakioapimlogicapp_azure4everyone-logic-apps-with-apim"
/>
<validate-jwt
header-name="Authorization"
failed-validation-httpcode="401"
failed-validation-error-message="Unauthorized. Access token is missing or invalid."
require-expiration-time="false"
require-scheme="Bearer"
require-signed-tokens="true">
<openid-config
url="https://login.windows.net/azure4everyone.onmicrosoft.com/.well-known/openid-configuration"
/>
<audiences>
<audience>api://apim-logic-app-demo</audience>
</audiences>
</validate-jwt>
<set-variable
name="jwt-token"
value="@(context.Request.Headers["Authorization"].First().Split(' ')[1].AsJwt())"
/>
<set-header name="X-UPN" exists-action="override">
<value>
@(((Jwt)context.Variables["jwt-token"])?.Claims["unique_name"].FirstOrDefault())
</value>
</set-header>
<set-header name="Authorization" exists-action="delete" />
</inbound>
<backend>
<base />
</backend>
<outbound>
<base />
</outbound>
<on-error>
<base />
</on-error>
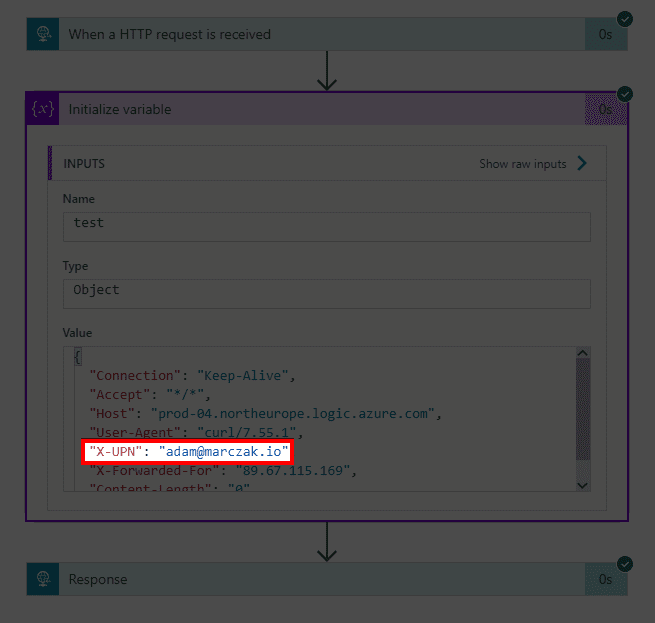
</policies>At this point user principal name will be passed to Logic App as additional header. This can be easily tested by initializing variable in Logic App like below.

Which will show that user principal name is available.
In case grabbing specific header is required then simply use Logic App expression.
triggerOutputs()['headers']['X-UPN']Tokens
When it comes to Token and what information does it hold feel free to check ID tokens documentation for complete list of fields for Microsoft Entra (former Azure Active Directory) tokens.
When using other token providers or validating token values, I highly recommend jwt.io which parses JWT tokens and shows values.
Example for Azure AD
{
  "aud": "https://management.azure.com",
  "iss": "https://sts.windows.net/1f0fb2d0-9423-4dce-ac05-7f195c4ee405/",
  "appid": "04b07795-8ddb-461a-bbee-02f9e1bf7b46",
  "appidacr": "0",
  "email": "[email protected]",
  "groups": [
    "317bace5-7e56-468e-826c-dc65cdfd2665",
    "317bace5-7e56-468e-826c-dc65cdfd2661"
  ],
  "idp": "https://sts.windows.net/dda56080-c956-45a2-9fd5-a88f5833ea9a/",
  "ipaddr": "<ip_address>",
  "name": "Adam Marczak",
  "oid": "3eb1f86e-bfe8-4909-adb9-f55fd14af378",
  "unique_name": "[email protected]",
  ... other fields ...
}
Conclusion
Being able to use flexibility of Logic Apps without sacrificing security is the best of two worlds. With recent introduction of consumption plans for azure API Management service even small applications can leverage this powerful service without huge investments.
What’s next?
All that is left is to simply go and start implementing solutions.


